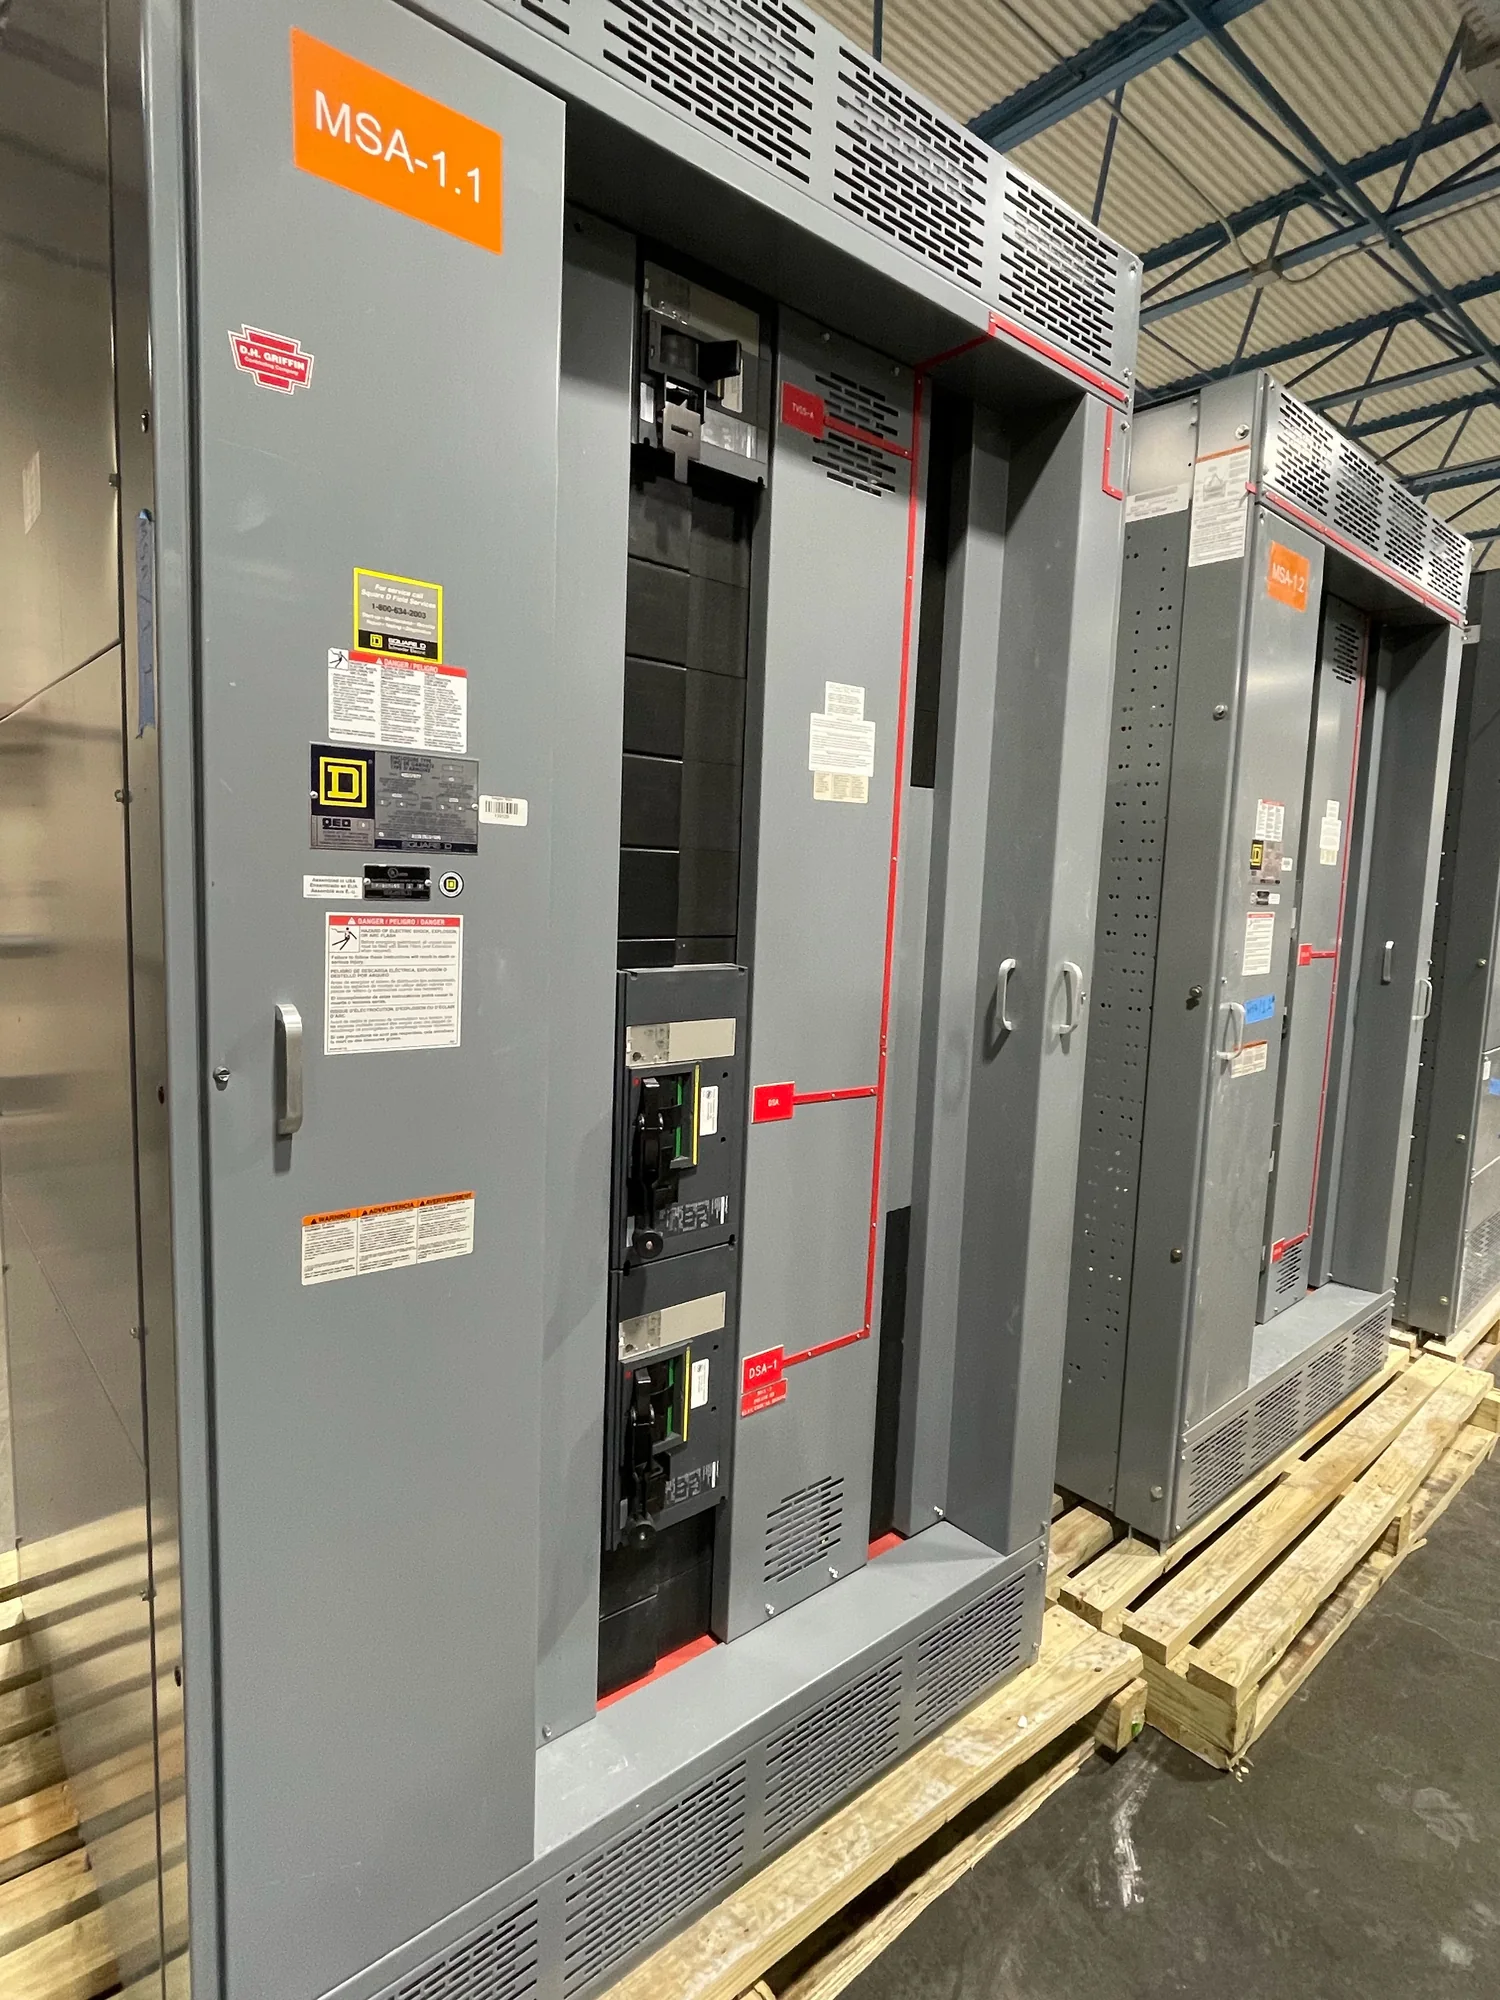
Start with the diagram’s purpose and conventions
A single-line diagram represents an electrical system with one line for a circuit, rather than drawing every phase conductor separately. It shows how sources, switching devices, buses, transformers and loads relate electrically; it is not a physical layout or a wiring diagram. Begin with the title block, project notes, revision date and legend. These identify the system represented and explain symbols, abbreviations and drawing conventions, which can vary by designer. Check the voltage labels and whether the drawing covers one lineup, a larger distribution system or only a portion of a facility. Trace lines and equipment tags, not their position on the page: symbols are arranged for readability and may not reflect the equipment’s actual order or location. Confirm that you are reading the current, coordinated revision before using the drawing for estimating, design or field work. If the legend or scope is missing, ask the responsible engineer to clarify it rather than guessing.
Trace each source into the system
Find the incoming source first. It may be utility service, a generator, a transformer secondary or another supply, shown with a label, voltage, connection point or source symbol. Follow its line toward the first switching or protective device. A line crossing another line does not necessarily mean an electrical connection; look for a junction mark and consult the legend. Where the drawing shows multiple sources, trace each path independently and note any tie breaker or transfer arrangement. A source label alone does not tell you whether supplies can operate in parallel, whether transfer is automatic, or what operating sequence is intended. Those decisions depend on the design and control scheme. Record source characteristics that are provided, such as voltage, phase, grounding information and available fault current, while treating missing values as items to confirm. This source-to-load trace establishes the system’s basic structure and helps reveal where further coordination details are needed.
| System | Voltage, phase, current and available fault current |
|---|---|
| Configuration | Lineup, protection, controls and enclosure as specified |
| Compliance | Applicable standards and listing confirmed for the assembly |
| Delivery | California and nationwide; schedule confirmed by quote |
Read breakers and other switching symbols
Along a source path, identify the device symbols and their equipment tags. A breaker is commonly shown as a switch-like symbol, but appearance and notation are not universal; use the legend and device schedule to distinguish breakers from disconnects, fuses or other equipment. Labels may identify a frame or trip rating, poles, sensor data, protective functions or a device designation. Do not assume every number is an interrupting rating, or that a symbol communicates the full protection settings. Those details may be on schedules, coordination studies or separate control drawings. Observe how a device relates to the circuit: a main device may connect an incoming source to a bus, while a feeder breaker protects an outgoing branch. Check for interlocks, control power and trip functions in the associated documents when relevant. Qualified professionals must determine protection, equipment ratings and applicable codes for the project; a simplified diagram is a starting point, not approval to select or operate equipment.
Follow the bus and identify every feeder
A bus is the common conductive path that collects power from an incoming source and distributes it to outgoing circuits. On a single-line drawing, it is often represented by a heavier line, with a bus label, voltage or section identifier. Trace each connection to see which sources and feeders share that bus. A bus-tie breaker can connect sections, but its presence does not by itself explain normal position, permissible operating modes or transfer logic. Look for open or closed status marks if shown, and verify their meaning in the legend. From the bus, follow each feeder outward to its destination: a motor control center, transformer, panel, large load or another switchgear lineup. Note feeder tags, conductor or cable references and load descriptions where provided. Compare labels across the diagram and schedules to catch mismatched identifiers. For equipment planning, the number and purpose of feeders are important inputs, but conductor sizing, load calculations and protective coordination require project-specific engineering.
Use the drawing as a design and review tool
A useful review follows each path from source through protective devices and bus sections to its destination, then checks that every major load has a clear supply and every device has an identifiable tag. Mark unanswered questions rather than filling gaps by inference: source fault current, grounding method, normal tie position, transfer sequence, spare capacity, metering, control interfaces and required ratings may need separate confirmation. Compare the one-line with equipment schedules, panel schedules, protection studies, specifications and physical arrangement drawings; each serves a different purpose. When requesting new switchgear, share the latest diagram along with system voltage, available fault information, load and feeder data, operating requirements, installation constraints and the standards applicable to the specific equipment. Applicable low-voltage switchboards may involve UL 891, but that standard does not apply to every medium- or high-voltage assembly. Ask the project engineer and manufacturer to identify open design inputs and confirm scope before equipment configuration is established.