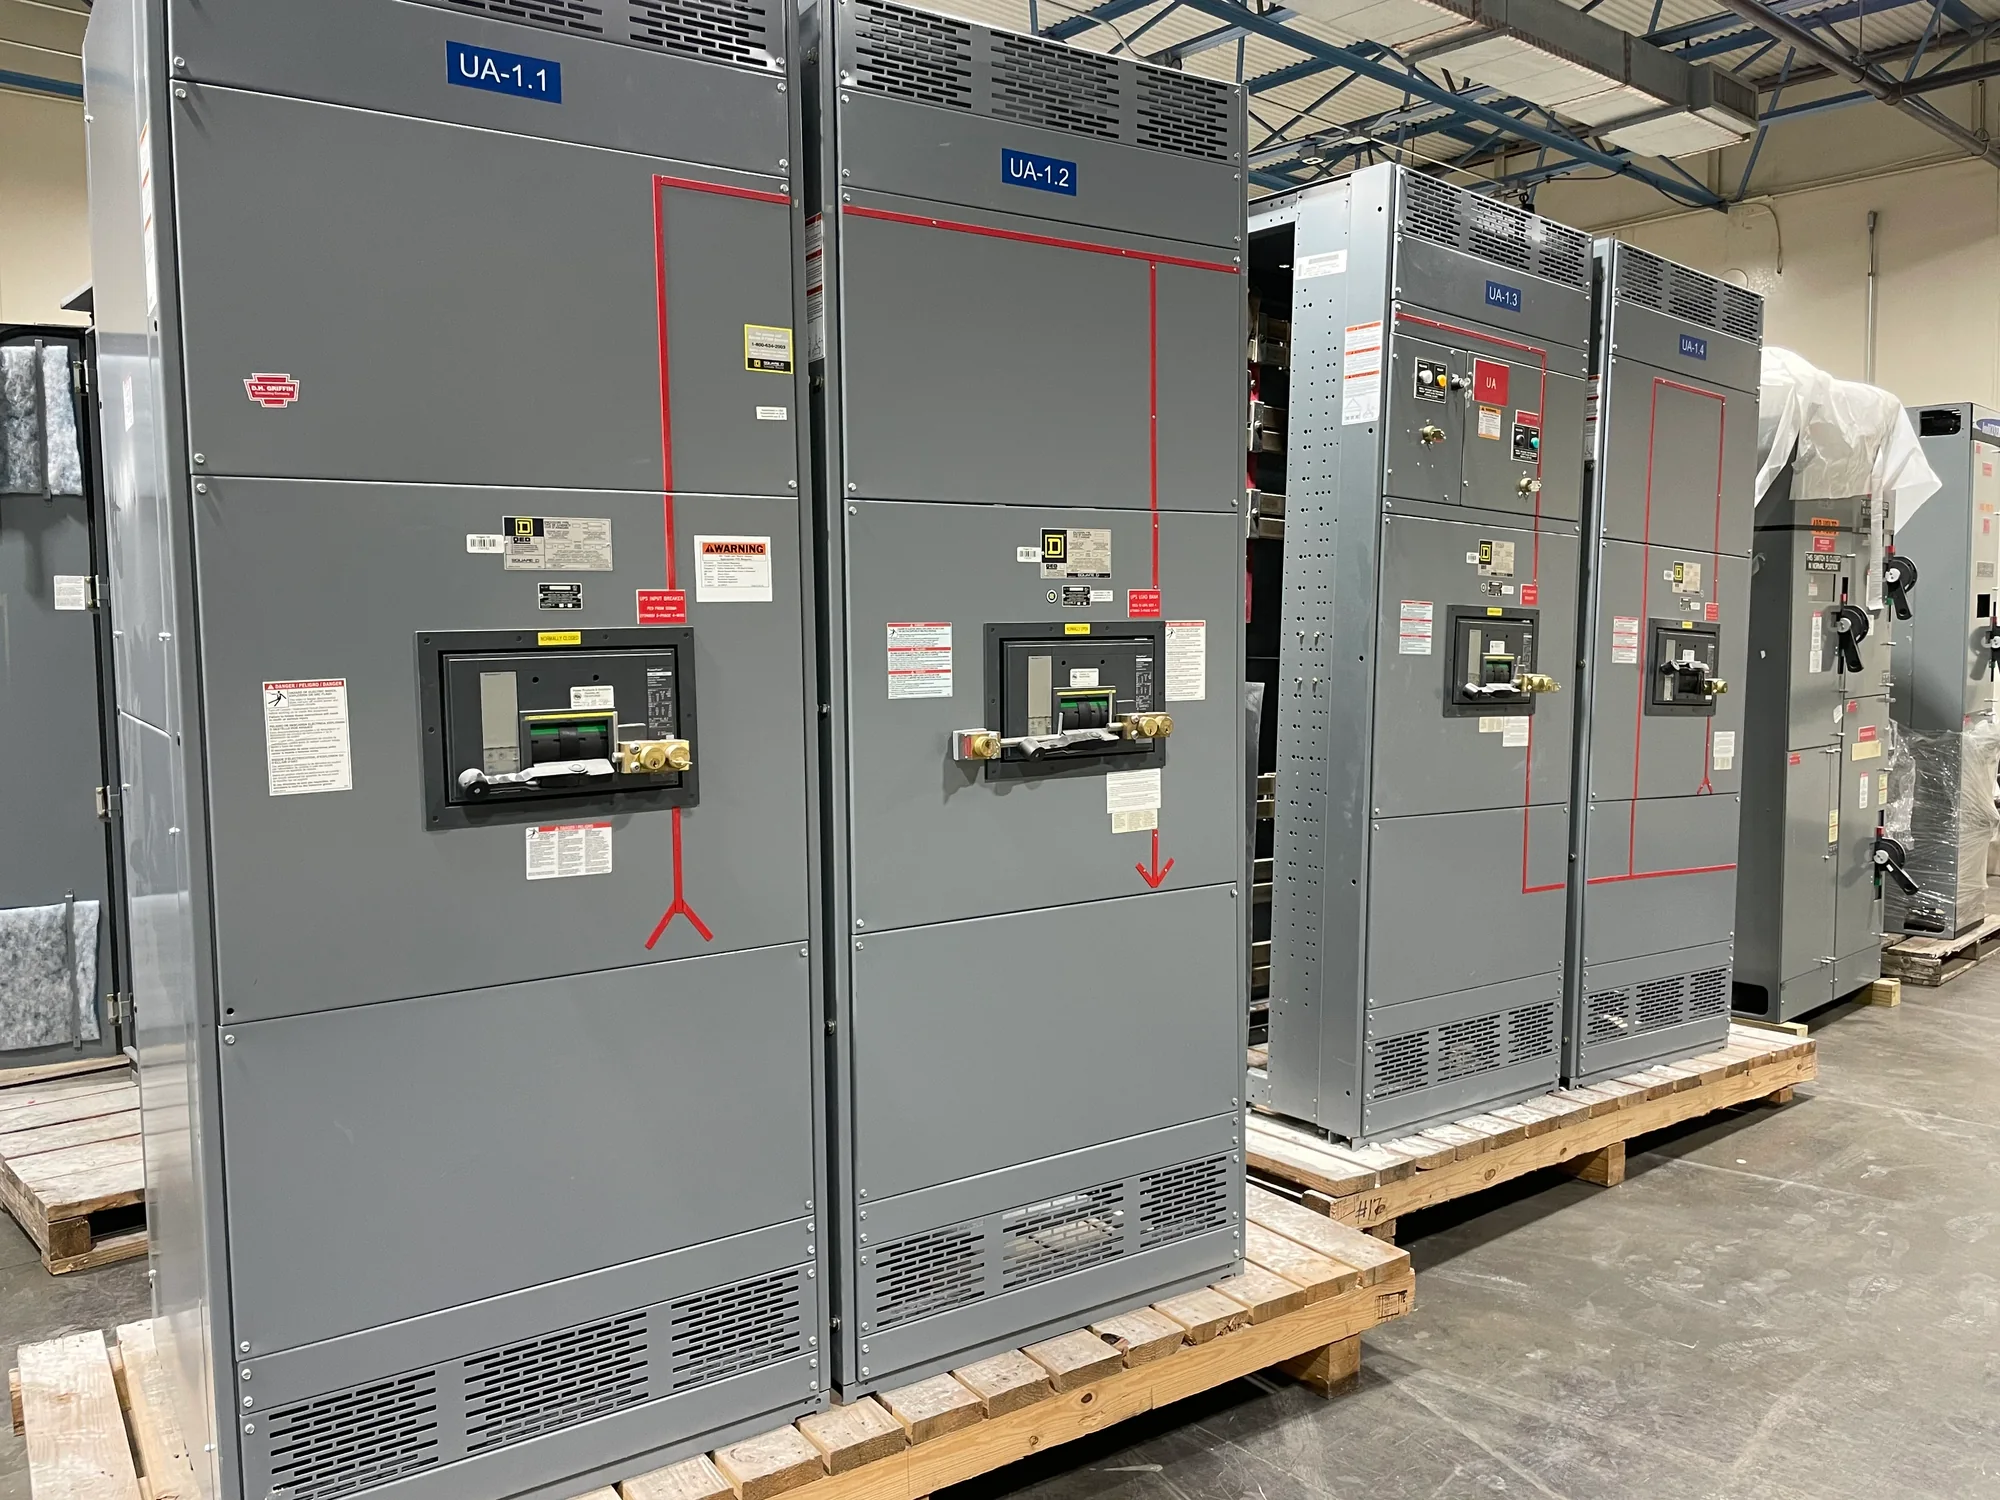
Start Forming Design With the Equipment Layout
Sheet metal forming is most useful when planned as part of the switchgear arrangement, not treated as a cosmetic step after the equipment is placed. Panel dimensions, door openings, barriers and mounting surfaces can affect component fit, wire routing, service access and the overall enclosure footprint. Begin with the electrical layout and identify the equipment that must be supported, protected or reached during operation and maintenance. Confirm device outlines, mounting patterns, cable entry locations and any required clearances using project documentation and manufacturer data. Also distinguish fixed structure from removable or hinged parts, since those choices influence access and assembly sequence. Early coordination helps reveal conflicts such as a formed flange crossing a wiring path or a door interfering with adjacent equipment. The design team can then resolve the issue before it becomes a field modification, while preserving the intended electrical arrangement.
Shape Panels and Doors for Access
Formed panels and doors should provide a practical balance between enclosure strength, component access and workable clearances. Bends, returns and stiffening features can help a panel retain its shape, but their location must account for devices, wireways, handles, hinges and adjacent sections. Door openings should reflect what a qualified person needs to inspect or operate without creating avoidable interference with internal components. Consider swing direction, available aisle space, nearby walls and the path required to remove a door or serviceable part. If openings or cutouts are needed, define their size and position from controlled drawings rather than relying on field interpretation. Check edge conditions and the relationship between panels and adjoining structures, including overlap, gaps and attachment points. Where equipment geometry or project requirements remain uncertain, resolve them with the responsible design team before releasing fabrication details.
| System | Voltage, phase, current and available fault current |
|---|---|
| Configuration | Lineup, protection, controls and enclosure as specified |
| Compliance | Applicable standards and listing confirmed for the assembly |
| Delivery | California and nationwide; schedule confirmed by quote |
Coordinate Barriers With Electrical Functions
Barriers and formed covers help organize physical separation and protect against unintended contact, but their arrangement must follow the equipment design and applicable project requirements. Identify which components or conductors need separation, what access is expected, and whether a barrier must be fixed, removable or interlocked with another feature. A cover that improves separation can also obstruct inspection, adjustment, heat movement or cable routing if its edges and mounting points are not coordinated. Document the intended function of each barrier and verify its relationship to devices, buswork, wiring spaces and service openings. Do not use sheet metal geometry alone as a substitute for electrical design review. Qualified professionals must determine protection, clearances, ratings and applicable codes for each project. For medium- or high-voltage equipment, identify and verify standards applicable to that specific equipment; requirements differ by design and cannot be assumed from a forming detail.
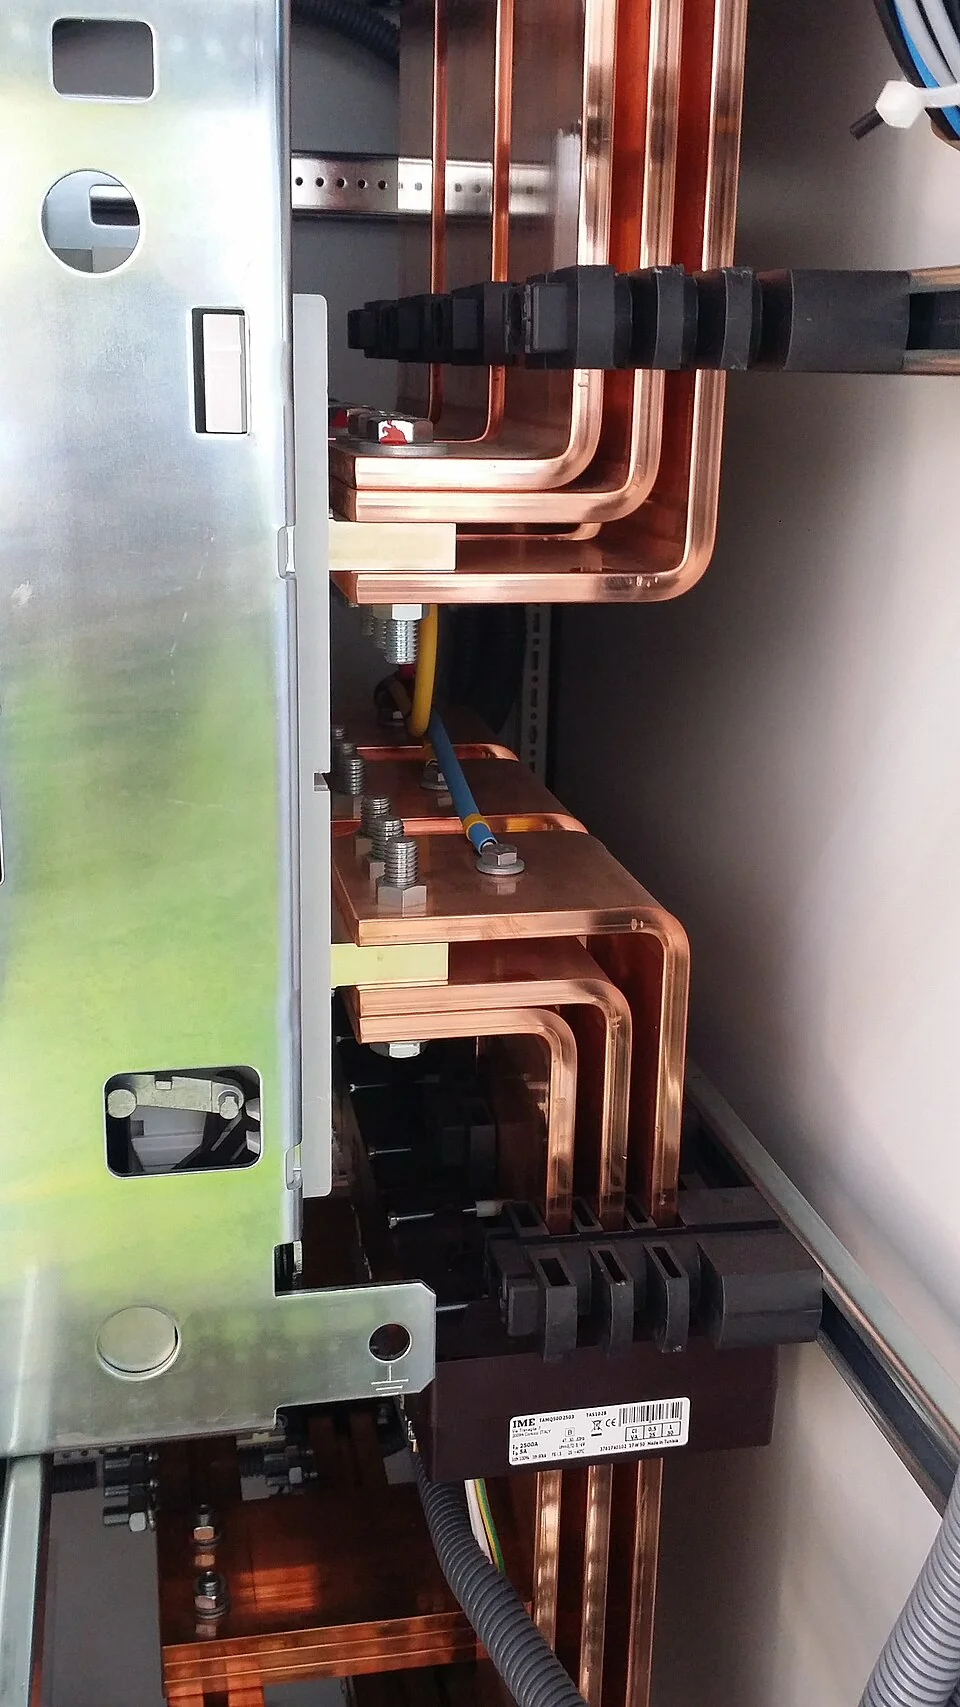

Design Mounting Surfaces for Fit and Tolerance
Mounting surfaces connect the formed enclosure to the equipment it supports, so dimensions and tolerances deserve careful attention. Coordinate hole patterns, slots, studs, rails and bearing surfaces with the actual component drawings and planned installation method. Allow for the relationship between bend locations and mounting features: material movement during forming can affect where a finished hole or edge lands. Define datums and critical dimensions clearly, especially where parts must align across multiple panels or sections. Consider tool access for fasteners and whether a component can be installed or removed after adjacent parts are in place. Surface finish and edge treatment may also matter where parts meet, where wiring passes, or where a person handles the panel. Review the design with assembly and installation constraints in mind, and document any project-specific tolerances or inspection points rather than leaving fit expectations implicit.
Prepare Drawings and Review Before Release
A useful forming package gives the fabrication and assembly teams enough information to produce parts consistently and check them against the intended layout. Provide current overall and detail drawings, material and thickness requirements, bend information, hole and cutout locations, and references to the components being mounted. Include door swing and attachment details, barrier locations, interfaces between adjoining panels, and any surfaces that require particular finish or edge conditions. Identify dimensions that control alignment or clearance, and note which dimensions are reference-only. Before release, compare the formed-part views with the electrical arrangement and installation plan; a two-dimensional flat pattern alone may not communicate the finished spatial relationship. If site conditions, cable routing or equipment data are still evolving, flag the open items and agree on a review point. For schedule-sensitive work, discuss options and constraints during project review rather than assuming a fixed fabrication or delivery date.