Start with the electrical and mechanical problem
Laminated bus assemblies place conductive layers close together with insulating material between them. This geometry can help manage magnetic forces and reduce the loop area associated with current paths, making it worth evaluating where high current, compact packaging or demanding transient conditions shape the design. It is not automatically preferable to a conventional bus arrangement: the benefit depends on the circuit, enclosure, connections and operating conditions. Begin with the system voltage, continuous current, fault-duty information, waveform or transient concerns, and the equipment interfaces the assembly must serve. Document the required clearances, environmental conditions and installation constraints as design inputs. Qualified professionals must determine protection, ratings and applicable codes for the specific project. An early engineering review can then compare laminated construction with other bus approaches, identify what evidence is needed to validate the design, and avoid choosing a geometry before its electrical purpose is clear.
Use geometry to solve a defined packaging need
Layering can create a thin, organized conductor stack that routes closely spaced phases or supply and return paths through a defined envelope. That may support compact layouts, controlled terminal locations or repeatable connections to adjacent equipment. But tighter geometry also leaves less room for bends, fasteners, insulation edges, barriers and access for assembly or inspection. Share the available three-dimensional space, mounting surfaces, entry direction, terminal orientation and neighboring components—not only a maximum length and width. Note expected movement, vibration, thermal expansion and any service-access needs. The design team can use this information to assess whether layer count, conductor width, spacing and bend transitions are practical. Consider how the assembly will be installed and connected in the field; a stack that fits a model may still be difficult to position or torque. Resolve those interface questions before detailing the final shape.
| System | Voltage, phase, current and available fault current |
|---|---|
| Configuration | Lineup, protection, controls and enclosure as specified |
| Compliance | Applicable standards and listing confirmed for the assembly |
| Delivery | California and nationwide; schedule confirmed by quote |
Confirm conductor, insulation and connection choices
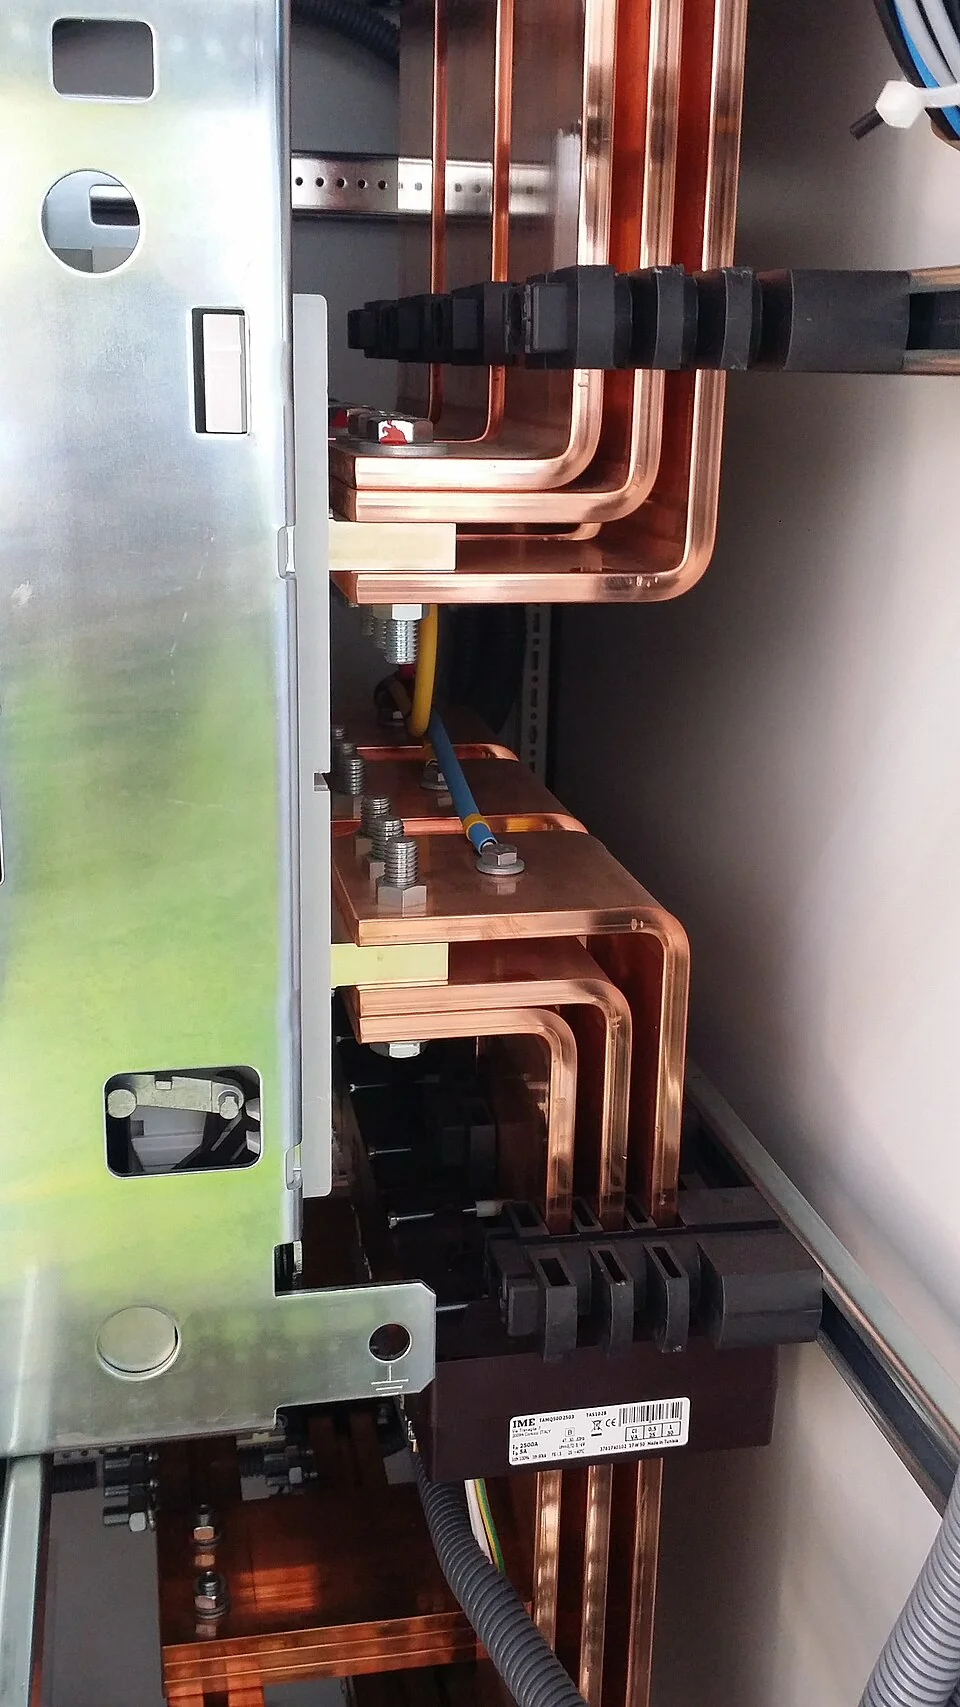
Feasibility depends on more than the outline of the copper or other specified conductor. Material, thickness, layer sequence and surface treatment affect resistance, heat flow, stiffness and how the assembly behaves at joints. The insulating system must also suit the electrical stresses, temperatures, environment and physical handling expected in service. Treat these as coordinated design decisions, not independent substitutions. Provide the design voltage and current, temperature assumptions, fault conditions, ambient and contamination concerns, and any requirements for creepage, clearance or dielectric evaluation. Identify terminal hardware, hole patterns, contact surfaces, plating expectations and the method of joining layers at each interface. A connection can dominate performance even when the laminated section is well proportioned. Confirm tolerances and allowable variation with the adjoining equipment, especially where multiple terminals must align. Final material selections and acceptance criteria should be reviewed by qualified engineering personnel against project requirements.

Review fabrication limits before design release
Manufacturing feasibility is shaped by the complete process route: conductor cutting and forming, edge preparation, insulation placement, bonding or clamping, drilling, finishing and final inspection. Layer count, stack thickness, bend radii, hole locations and close-spaced features can affect tooling, repeatability and yield. A drawing should communicate datums, critical dimensions, tolerances, edge conditions and which surfaces must remain flat or contact-ready. Include a three-dimensional model when it helps show interfaces, but make controlled drawings and revision status clear. Ask the manufacturer to review whether the proposed sequence can hold the important dimensions and whether the design leaves room for practical assembly and inspection. Discuss how changes to thickness, material or hole placement may affect fit and performance before release. This review is especially useful for custom shapes or tight envelopes. It can expose difficult features early, while there is still room to adjust the design rather than rework finished equipment.
Coordinate verification, interfaces and next steps
A workable plan connects calculations and design intent to inspection and installation. Establish which characteristics need verification, such as dimensions, layer order, insulation coverage, surface condition and terminal alignment, and agree on the applicable inspection records. Electrical evaluation and any required testing should follow project-specific criteria; no single construction method establishes suitability for every application. Identify the equipment boundary, mating parts, connection hardware, grounding provisions and responsibility for field assembly. For switchgear projects, provide the one-line diagram, relevant specifications, interface drawings, load and fault information, and project schedule constraints for review. If the application involves medium- or high-voltage equipment, identify and verify the standards applicable to that specific equipment rather than assuming a low-voltage switchboard standard applies. Schedule-sensitive or expedited options may be considered only after project review and confirmation of scope. With these inputs, the manufacturer and project team can decide whether laminated bus is justified, settle the design questions, and agree on a realistic path to fabrication.