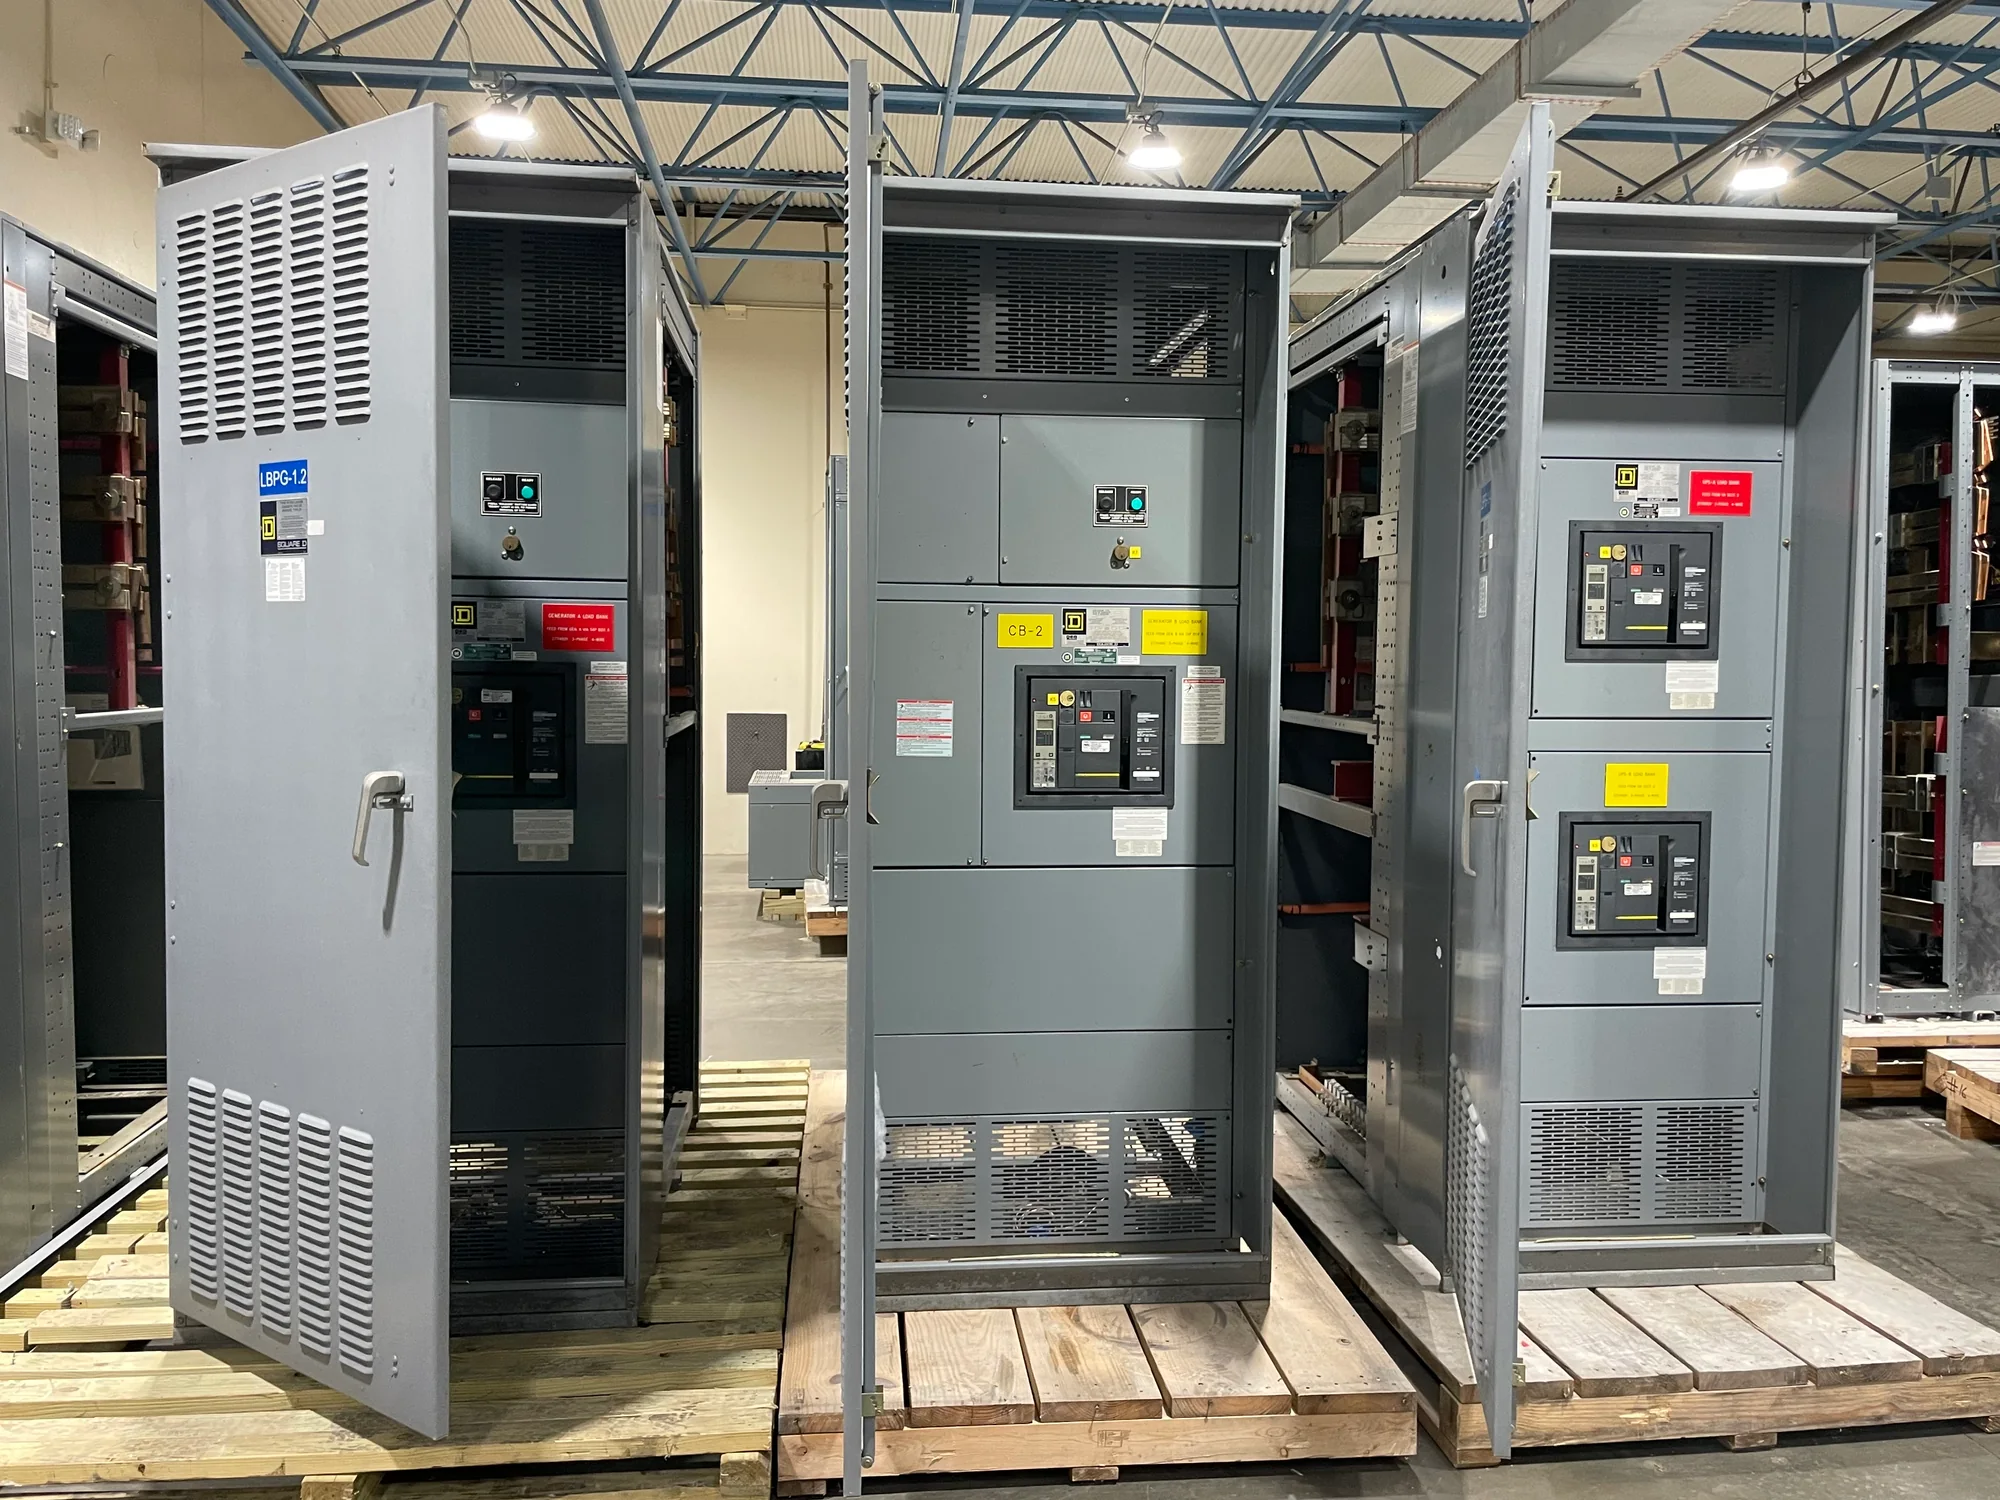
Start with the equipment layout and project inputs
Component mounting begins with a coordinated view of the complete assembly, not an isolated choice of brackets or fasteners. Drawings and project documents should establish the intended arrangement of breakers, bus supports, control devices, instrument transformers, relays, wiring channels and other equipment. Confirm enclosure dimensions, compartment boundaries, cable entry and termination locations, and any site-specific constraints that affect access or routing. The available information may change as engineering develops, so identify assumptions and unresolved items early rather than allowing them to become shop-floor conflicts. Mounting locations must accommodate electrical separation, conductor paths, heat dissipation, operation and maintenance. A layout that fits on a drawing may still create interference with a door, removable panel, lifting feature or adjacent device. Review the assembly in plan, elevation and section views, and coordinate interfaces with the project team before releasing details for fabrication. Clear inputs support sound decisions; final ratings, protection and code requirements remain matters for qualified professionals to determine for the specific application.
Design support for component weight and operating forces
Every mounted item transfers load into its supporting structure. Consider the component’s mass, mounting orientation, center of gravity and the loads associated with normal operation, connection forces or maintenance. For devices with moving mechanisms, verify that the mounting arrangement remains stable during operation and does not rely on a thin panel or unsupported surface when the design calls for a more substantial support. Bus supports and other current-carrying assembly elements also require careful coordination: their positioning must follow the applicable equipment design and withstand the forces considered for the project. Select mounting rails, brackets, plates and fasteners to suit the intended load path and enclosure construction. Check hole patterns, material thickness, edge distances and access for tightening; a theoretically adequate fastener is not useful if it cannot be installed or inspected. Where vibration, transport handling or seismic criteria are specified, capture those requirements as engineering inputs and verify the proposed arrangement against them. Do not assume one mounting detail is suitable for every device or assembly.
| System | Voltage, phase, current and available fault current |
|---|---|
| Configuration | Lineup, protection, controls and enclosure as specified |
| Compliance | Applicable standards and listing confirmed for the assembly |
| Delivery | California and nationwide; schedule confirmed by quote |
Coordinate electrical clearances and conductor routing
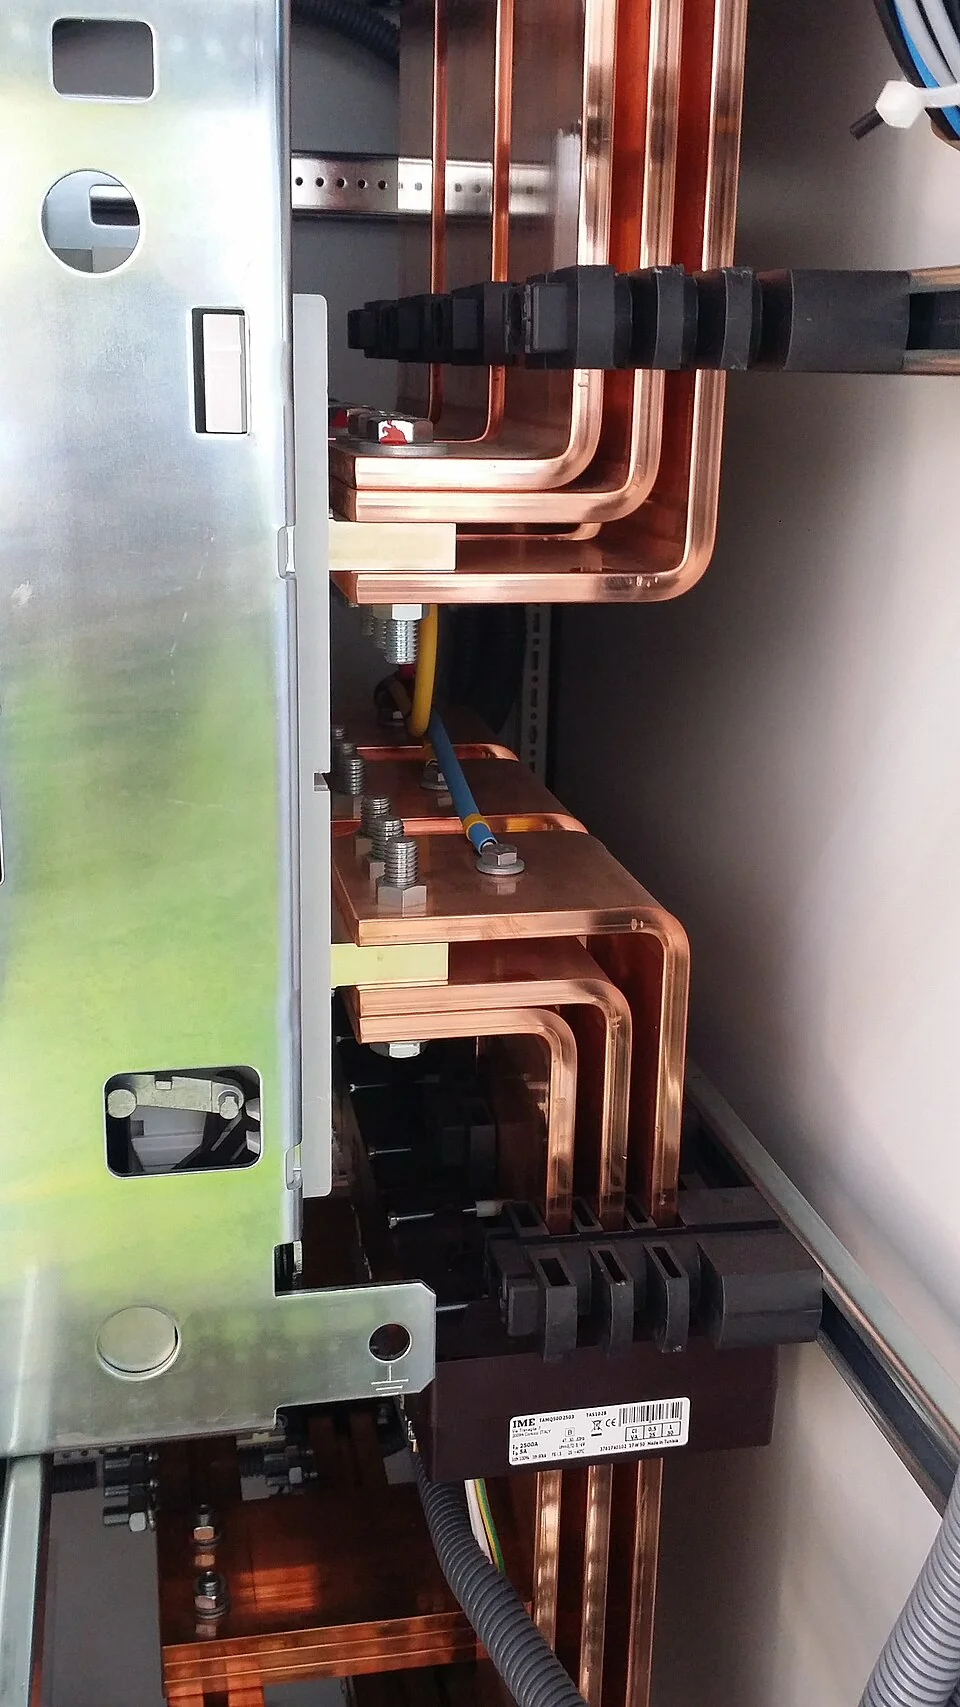
Mechanical placement directly affects electrical performance and safe working conditions. Component positions must preserve the separations required by the design and applicable requirements, while leaving adequate space for bus, cable, control wiring and termination hardware. Allow for conductor bend radius, lug orientation, insulation, barriers and any specified phase identification or segregation. A device moved to improve service access can unintentionally narrow a clearance, obstruct a cable route or complicate the connection sequence. Conversely, a compact arrangement may leave insufficient room to land conductors or remove a component later. Review routing with realistic conductor sizes and termination details rather than relying on simplified centerlines alone. Account for doors, barriers and covers in both their normal positions and during access. Identify potential conflicts between mounting hardware and wiring ducts, grounding paths or removable assemblies. Resolve those interfaces in coordinated drawings before fabrication, and document approved changes so that electrical and mechanical details stay aligned. Qualified professionals must determine applicable clearances and code requirements for each project.

Make operation, inspection and maintenance practical
A well-mounted component must remain usable throughout the equipment’s service life. Operators and maintenance personnel need appropriate access to handles, indicators, test points, adjustment features and connection areas, subject to the equipment design and site safety procedures. Check that installed devices can be operated without interference and that covers, doors or barriers can be removed as intended. Consider the tools and working space needed to inspect connections, replace a component or perform routine checks; a mounting screw hidden behind wiring or a neighboring device can turn a simple task into a disruptive one. Labels and identification should remain visible after final assembly, and wiring should not obscure controls or obstruct ventilation paths. Service access does not override required protective barriers or safe work practices. Instead, layout decisions should support both protection and maintainability. Ask the project team which items require periodic access, whether spares or future options are planned, and what maintenance approach is expected. These answers help distinguish useful working clearance from space that is unnecessary or unavailable.
Review mounting details before fabrication and delivery
Before releasing a design for assembly, compare component schedules, outline drawings, wiring information and mounting details for consistency. Confirm device dimensions and approved interfaces from current manufacturer documentation, then check that specified orientations, terminal access and hardware match the intended arrangement. Resolve substitutions or drawing revisions through controlled review; even a similar component can have a different footprint, heat profile, connection pattern or operating envelope. For project coordination, provide the equipment builder with the latest single-line diagram, relevant layout and wiring drawings, device data, cable-entry expectations, environmental conditions and any transport or installation constraints. Identify who will approve deviations and how open questions will be closed. At inspection, verify that components are secure, correctly located, accessible and consistent with released documentation; review routing and protective features as part of the overall assembly. Discuss shipping and site-handling needs early, since bracing or access limitations can affect mounting decisions. California projects and customers elsewhere in the United States can coordinate requirements with the manufacturer, with schedule-sensitive options considered only after project review.