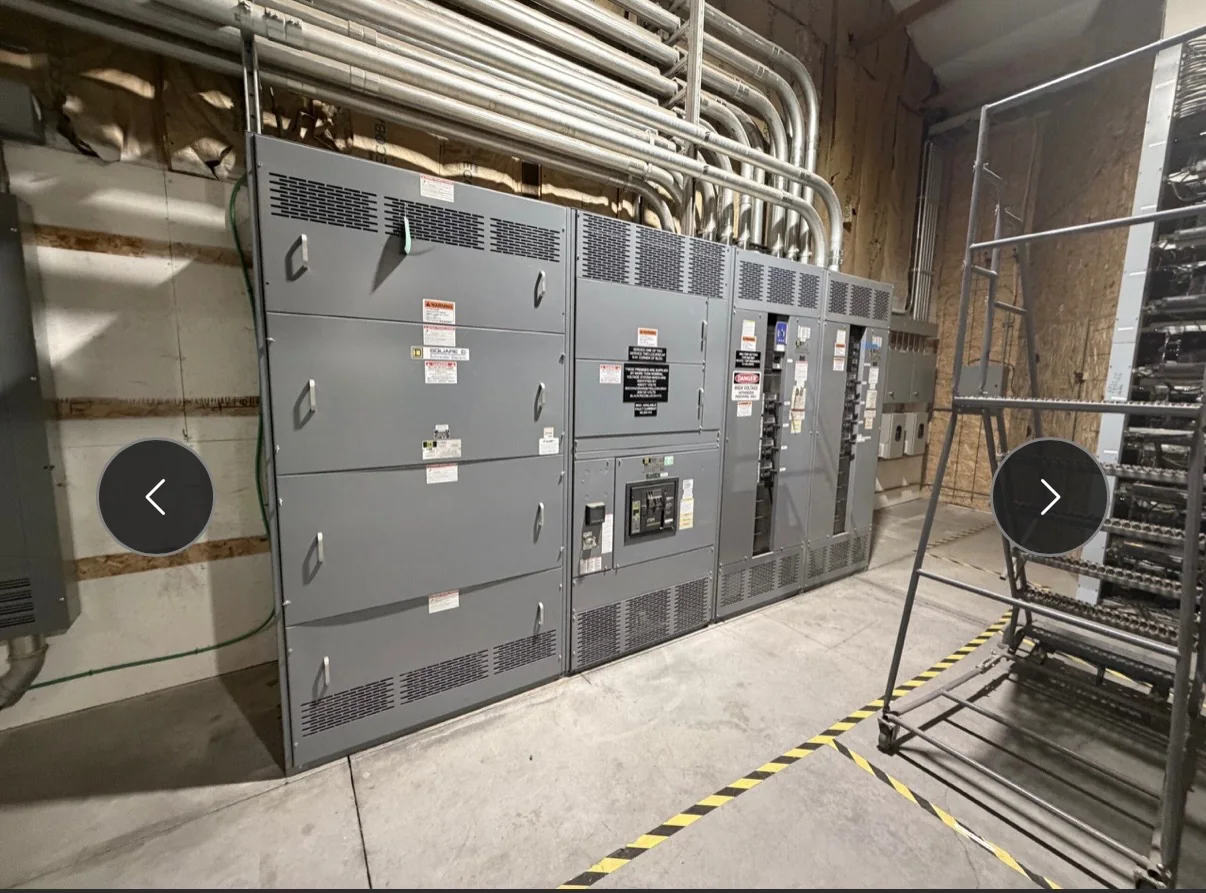
Define the Breaker and Its Compartment
Start with the breaker’s electrical and mechanical identification, not a nominal frame size alone. Provide the manufacturer, model or family, pole arrangement, interrupting and continuous-current requirements, control voltage, and any specified accessories. These inputs help establish the intended compartment envelope and interfaces, but the project team must confirm that the selected breaker is suitable for the system and application. Clarify whether the design calls for a fixed-mounted or drawout arrangement, since that choice affects supports, primary connections, shutters, racking provisions, and service access. Record the available lineup width and depth, bus location, cable entry, and adjacent section constraints. If equipment is replacing an existing assembly, supply verified drawings and field measurements rather than relying on appearance or an old nameplate. A new switchgear design can then account for the breaker’s actual interface needs while preserving appropriate working clearances and access.
Plan Mounting and Mechanical Fit
Mounting is a structural and dimensional decision as well as an electrical one. The breaker, cradle or support structure, and compartment surfaces must align so the unit seats correctly without forcing, binding, or unintended loading on conductors. Establish mounting points, rail or guide geometry, door and barrier clearances, and the position of primary disconnects from coordinated drawings. Account for the breaker’s operating and service envelope, including handle travel, racking access, removal space, and the opening arc of doors or covers. Tolerances matter: small discrepancies between the breaker interface and the compartment can affect engagement, alignment, and maintainability. Confirm the design against the actual equipment documentation and any project-specific seismic, environmental, or installation constraints. Where a lineup includes multiple breaker types or section arrangements, review each interface rather than assuming common dimensions. Early dimensional coordination can prevent costly field modifications and reduce the chance of a unit that cannot be installed or serviced as intended.
| System | Voltage, phase, current and available fault current |
|---|---|
| Configuration | Lineup, protection, controls and enclosure as specified |
| Compliance | Applicable standards and listing confirmed for the assembly |
| Delivery | California and nationwide; schedule confirmed by quote |
Coordinate Safe Handling and Service Access
A breaker’s weight, center of gravity, and removal method influence the compartment layout and the installation plan. Identify lifting points and approved handling equipment from the breaker manufacturer’s instructions; do not treat doors, rails, or enclosure members as lifting features unless the design documentation expressly permits it. Review the path from delivery and staging through the equipment room to the final position, including thresholds, turning clearances, floor capacity, and overhead obstructions. For drawout equipment, determine how the breaker will be moved between its service, test, and disconnected positions, and whether a dedicated lifting device or transfer arrangement is required. Allow room for qualified personnel to attach handling equipment and perform inspection without compromising adjacent energized sections. The installation sequence should address shipping restraints, protective covers, and checks for transport damage before energization. Qualified professionals must establish safe work practices, isolation, and any required arc-flash controls for the actual site and task.

Verify Interlocks and Position Indication
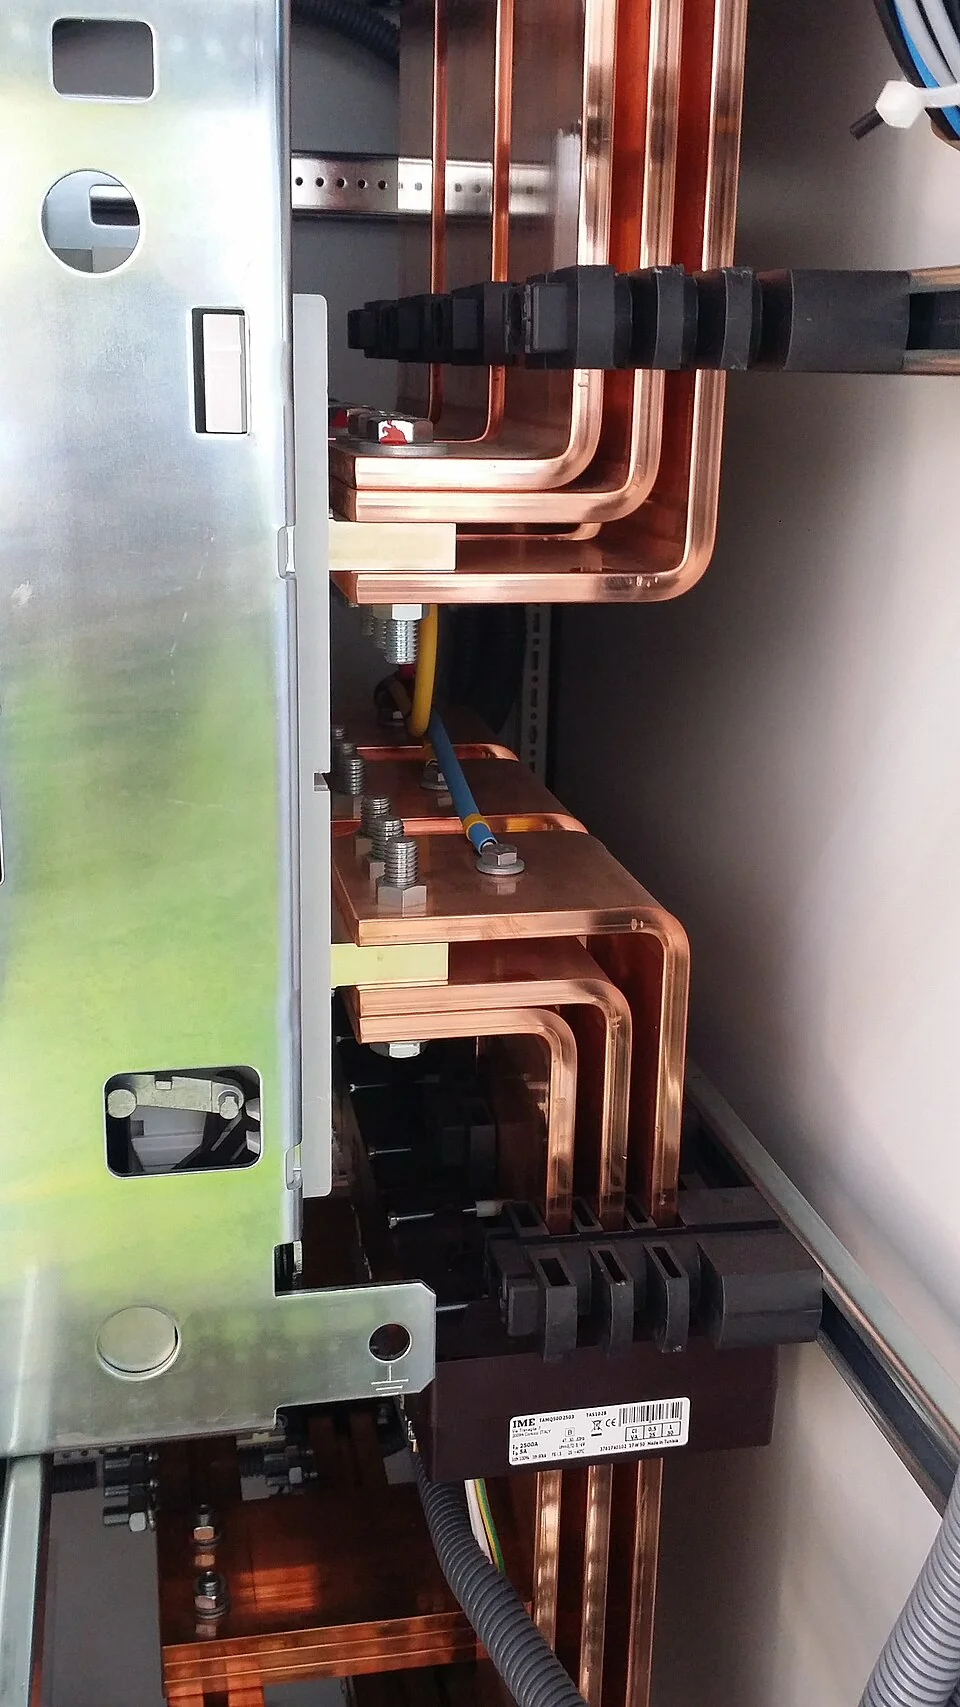
Mechanical and electrical interlocks should be treated as coordinated functional features, not simply hardware to fit around the breaker. Identify which actions must be restricted or permitted, such as racking with the breaker closed, closing in an intermediate position, or opening a compartment door under specified conditions. Confirm that the breaker, cradle, shutters, key interlocks, and control circuits are designed to work together for the intended operating sequence. Position indicators and auxiliary contacts should also be checked for clear correspondence with the actual connected, test, and disconnected states. Document any required keying scheme, control logic, remote operation, or status signals so they can be reviewed across the lineup and external systems. Interlocks do not replace operating procedures, protective devices, or safe isolation practices. Their purpose and limitations should be understood by the people responsible for design, commissioning, and operation. Testing and acceptance criteria should be established by qualified project professionals using the equipment documentation and applicable requirements.
Coordinate the Lineup and Confirm Before Release
Before fabrication, reconcile breaker details with the complete lineup: bus arrangement, compartment interfaces, control wiring, cable routing, barriers, doors, and neighboring sections. Provide the one-line diagram, breaker schedules, control schematics, equipment drawings, and any governing project specifications, while identifying items that remain subject to confirmation. Note site voltage and frequency, grounding approach, fault-duty and protection requirements, operating environment, and applicable codes or standards; qualified professionals determine which requirements govern the project. For medium- or high-voltage equipment, identify and verify standards applicable to that specific equipment rather than assuming requirements for low-voltage assemblies apply. Review the final drawings for fit, access, handling, interlock logic, and maintenance clearances, then resolve discrepancies before release. If an existing installation imposes unusual room or connection limits, share field-verified information early. Customers planning new equipment can discuss these inputs with Switchgear Builder California; schedule-sensitive options, if relevant, require project review and are not guaranteed.