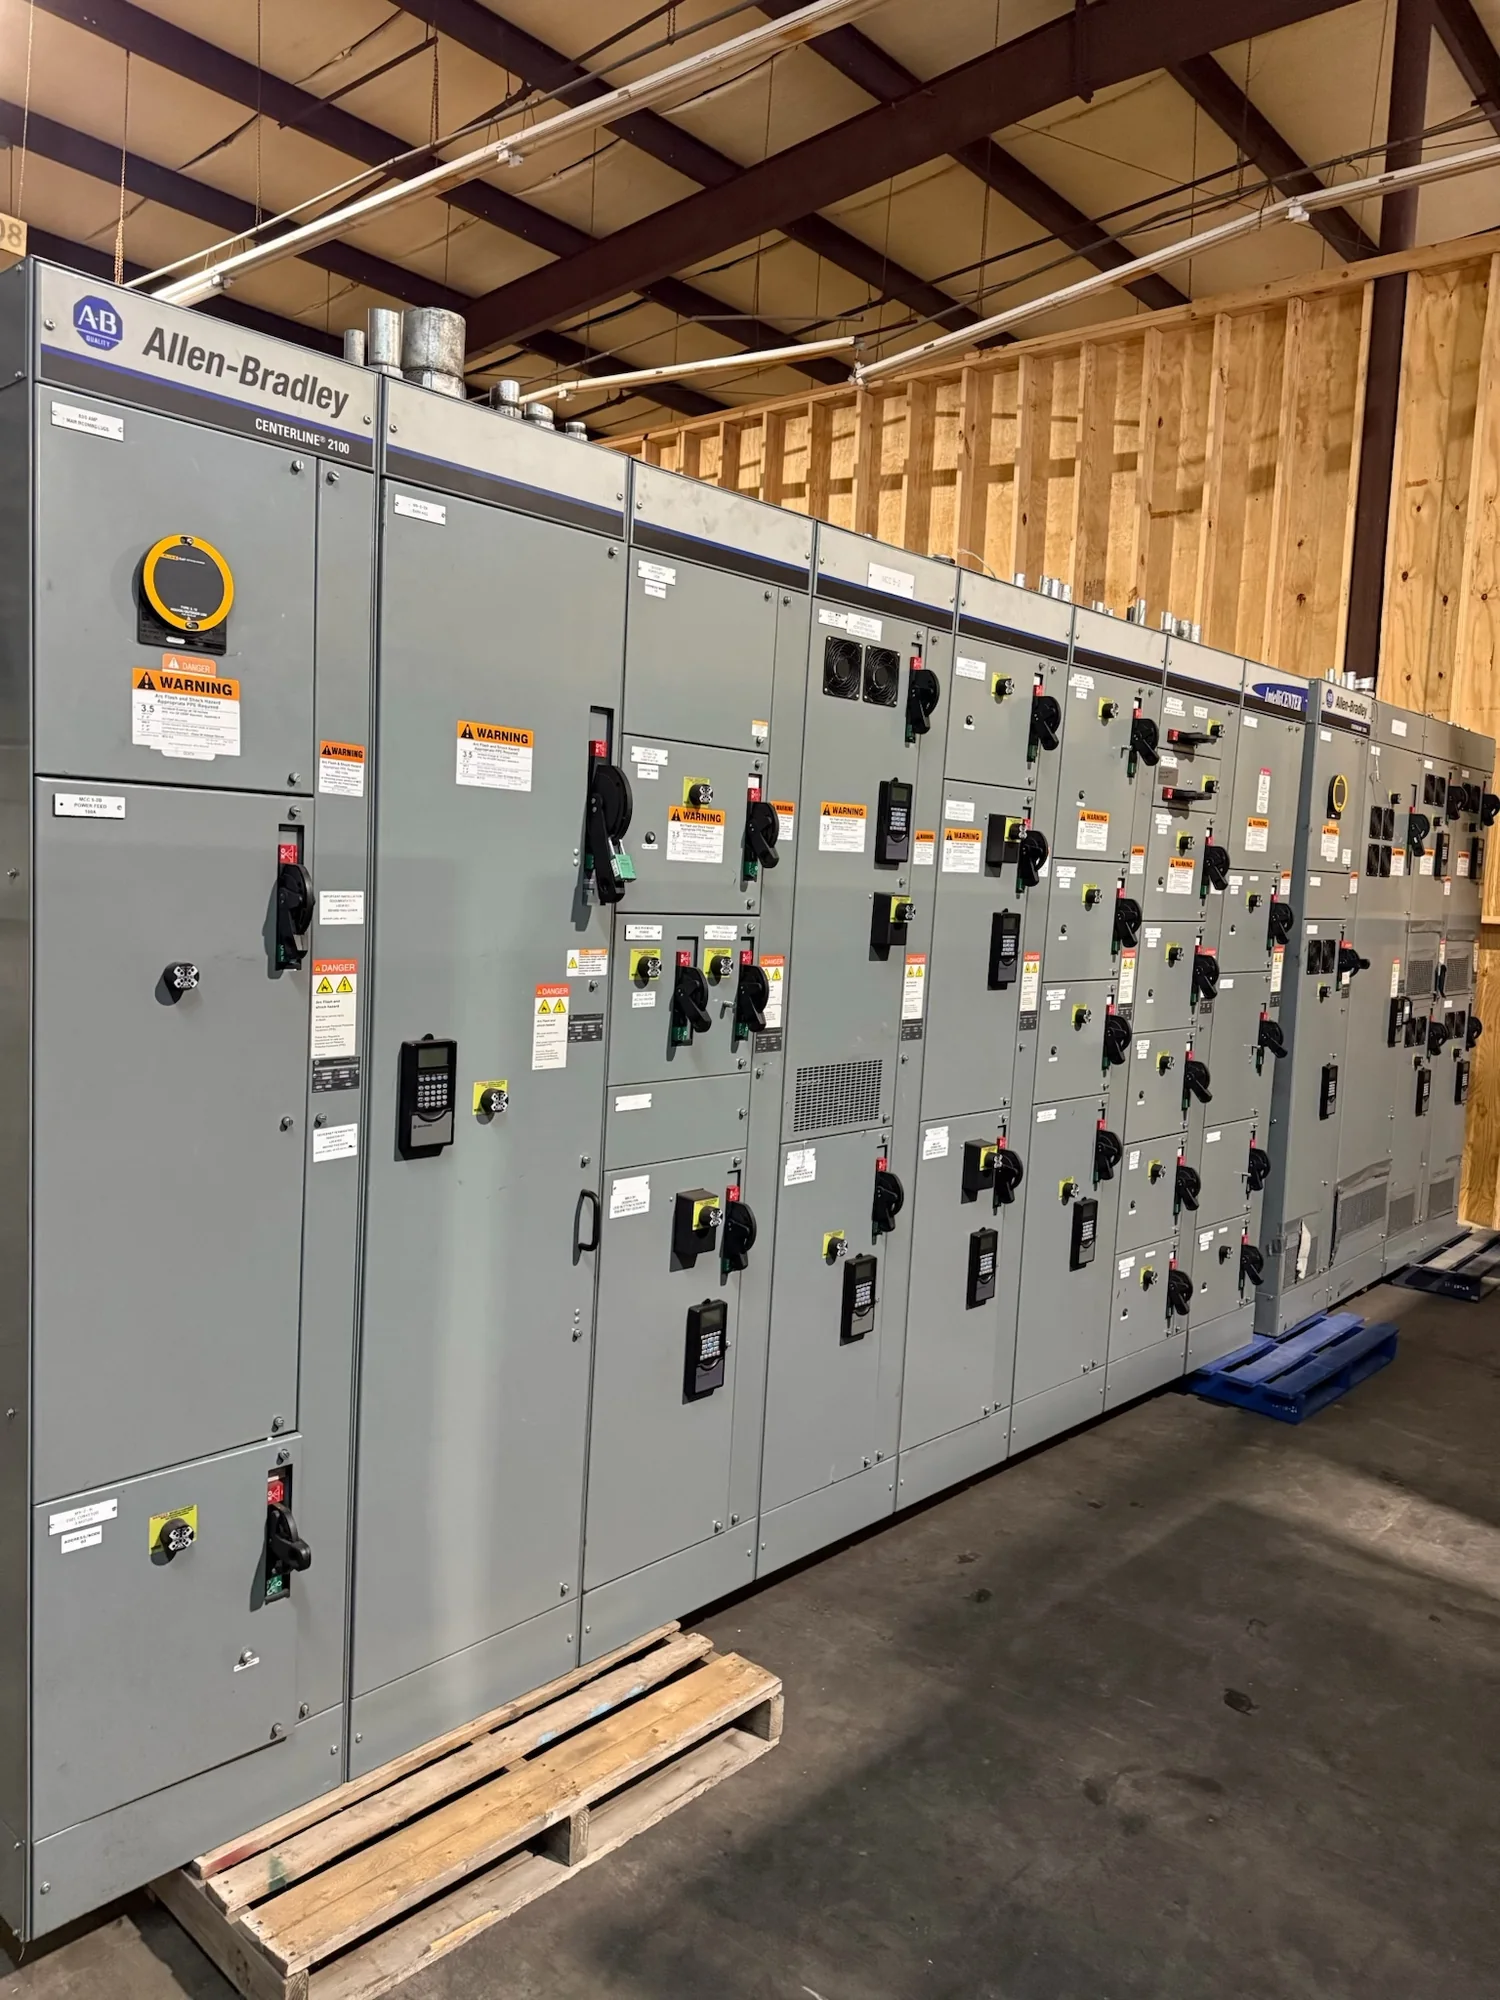
Trace the complete protection signal path
Protective relay wiring should be reviewed as a complete control path, not as a collection of isolated connections. Start with the source of each input: current and voltage transformers, auxiliary contacts, switches, or other specified devices. Follow the signal through terminal blocks, test switches, relay input terminals, programmed logic, and any resulting output. This trace helps expose missing links, duplicated signals, polarity concerns, and assumptions about where an interposing device or contact is located. The approved elementary and wiring diagrams should agree on device tags, terminal designations, wire numbers, and contact references. For each circuit, identify what the relay is expected to detect and what action its output is intended to initiate. Qualified professionals must determine protection functions, ratings, and applicable codes for the project. A careful path review gives engineering, manufacturing, installation, and commissioning teams a shared basis for checking the assembled control circuit.
Coordinate inputs, polarity, and circuit separation
Input wiring details depend on the relay, instrument transformers, control-power scheme, and project design. Current-transformer circuits require particular attention to polarity, phase identification, grounding practice, and the approved method for safe test access; an open CT secondary can present a hazardous condition. Voltage inputs likewise need phase and reference identification consistent with the protection and metering diagrams. Before wiring begins, resolve the specified terminal assignments, conductor identification, shielding or grounding approach where applicable, and any separation required between signal, control-power, and communications circuits. Do not rely on wire color alone to establish function. Confirm device contact states and the meaning of normal conditions, especially where an alarm, trip, permissive, or interlock depends on a change of state. These details should be checked against the relay documentation and project drawings, then carried consistently into wiring schedules and shop records. Clear input definition reduces troubleshooting time and limits ambiguity during field checkout.
| System | Voltage, phase, current and available fault current |
|---|---|
| Configuration | Lineup, protection, controls and enclosure as specified |
| Compliance | Applicable standards and listing confirmed for the assembly |
| Delivery | California and nationwide; schedule confirmed by quote |
Plan test switches around safe, usable access
Test switches can provide a controlled interface for secondary injection, functional checks, and maintenance, but their arrangement must match the protection scheme and approved operating procedures. Determine which current and voltage circuits pass through each switch, which contacts isolate or short particular paths, and how trip or close circuits are affected during testing. The switch configuration, terminal numbering, and normal position should be explicit in the elementary diagram and reflected in the wiring details. Consider whether technicians can identify and operate the intended points without disturbing adjacent functions, and whether labels remain readable after installation. Test access is not a substitute for safe work practices: qualified personnel must establish the required isolation, verify circuit conditions, and follow site procedures before testing. Review the proposed sequence with the relay functions and control logic so that test operation cannot be misunderstood as normal service. When requirements are defined early, test switches can support efficient commissioning while preserving clear circuit boundaries.
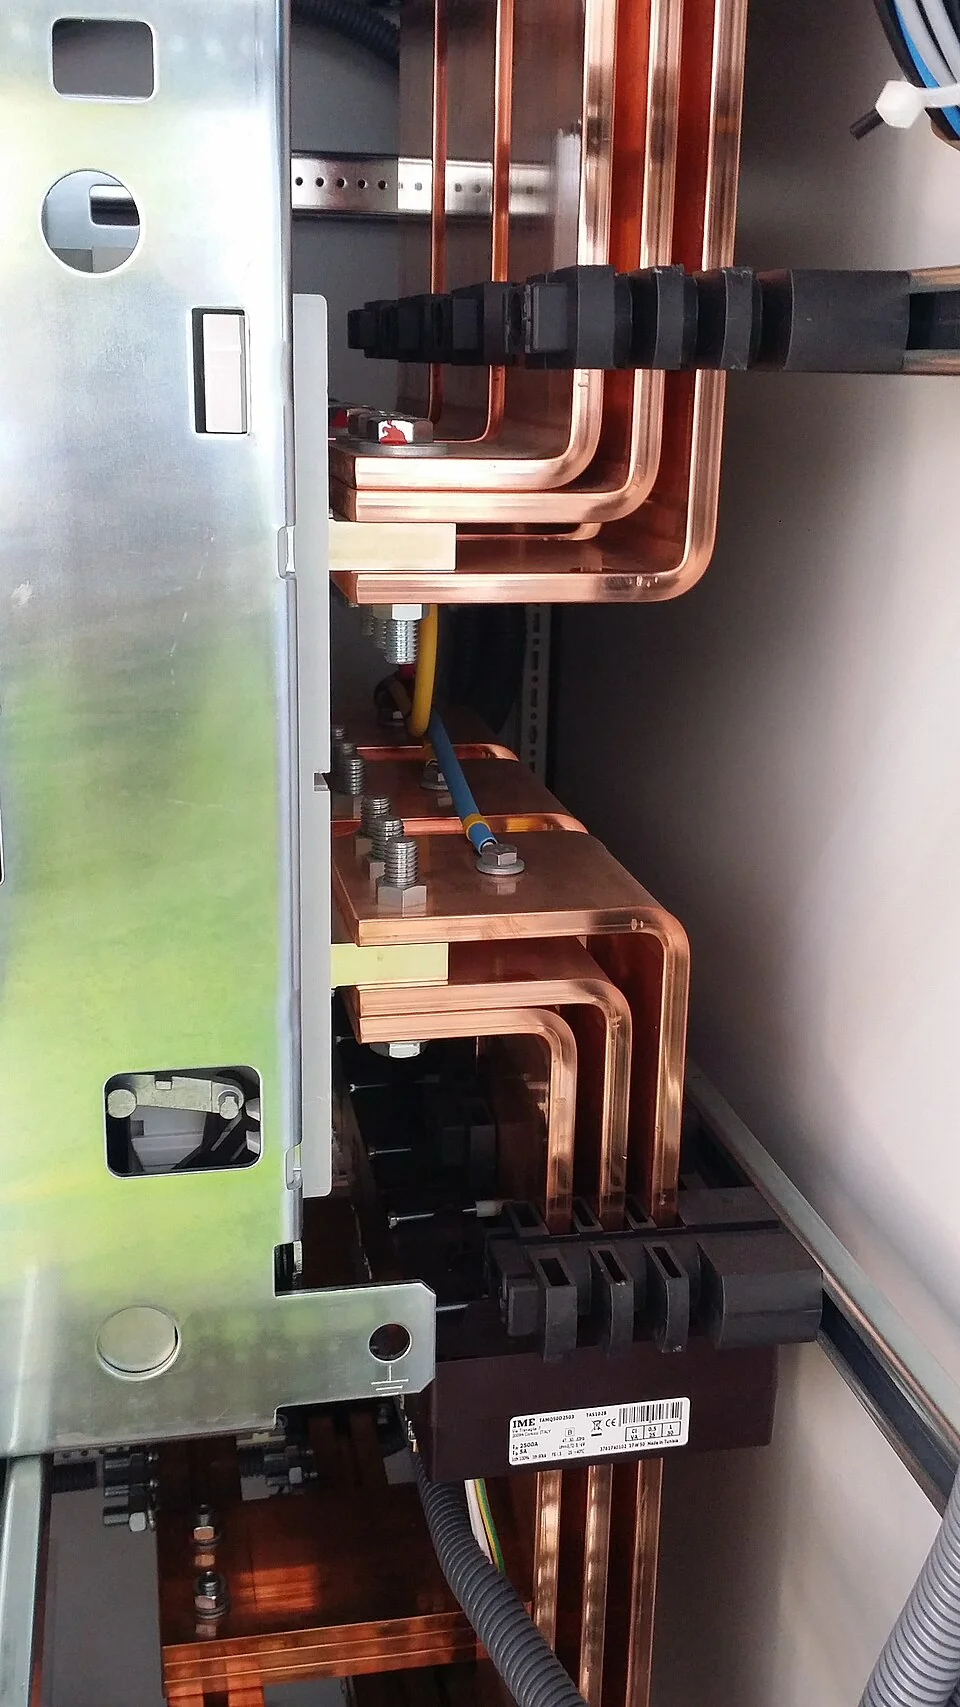

Make terminals and identifiers consistent
Terminal identification is the practical map between drawings and the physical assembly. Establish a consistent scheme for terminal blocks, relay pins, test-switch poles, field connections, and wire markers, then use it across schematics, point-to-point diagrams, wiring schedules, and labels. Each external connection should state its destination and signal purpose clearly enough for installation and later maintenance. Distinguish terminal numbers from device contact numbers and relay element identifiers; similar-looking references can otherwise send a technician to the wrong point. Confirm whether the project requires spare terminals, designated field wiring boundaries, or specific marking conventions, and document those decisions before finalizing the layout. Where a circuit changes across drawing sheets, cross-references should make its continuation easy to follow. A consistent identification plan also supports inspection and drawing updates when an approved design change occurs. Provide the latest device data, terminal diagrams, I/O assignments, and control schematics so wiring can be checked against the intended configuration rather than inferred from partial information.
Verify wiring against drawings and operating intent
A useful manufacturing review compares the physical wiring plan with both the protection logic and the intended operating sequence. Check that each input reaches the assigned relay point, each output reaches the correct trip, alarm, close, or interlock circuit, and any required supervision or auxiliary contacts are represented. Confirm contact normal states, coil and control-power details, terminal references, and cross-sheet links. Review the effects of test-switch positions and loss of control power where those conditions matter to the project. Before release, resolve drawing discrepancies and identify the approved revision so shop work, field installation, and commissioning use the same information. Buyers and project teams can help by providing protection schematics, relay models or specified functions, instrument-transformer data, control voltage, interface requirements, and preferred identification conventions. For schedule-sensitive work, sequencing or expedited options may be considered after project review; timing depends on scope and inputs. Clear documentation and a defined review path make relay wiring easier to inspect, test, and maintain.