Start with the installation envelope
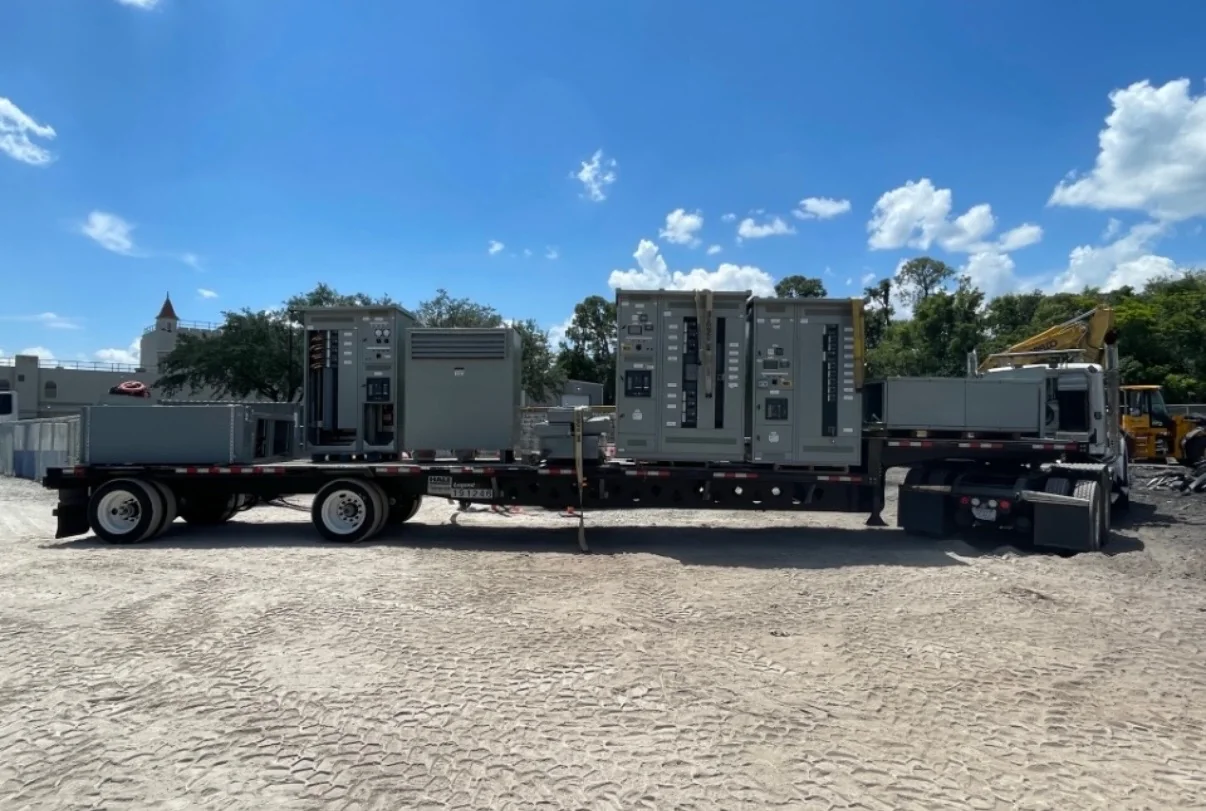
An enclosure should be coordinated with the room and installation route before frame details are finalized. Provide overall height, width and depth limits, door-swing clearances, overhead obstructions, housekeeping-pad dimensions and the intended cable-entry zones. Include the path from delivery point to final position; a lineup that fits in the electrical room may still be difficult to move through a corridor, doorway or elevator. Identify adjacent equipment, walls and access aisles so the design can account for installation tolerances and future service space. Site measurements should distinguish finished dimensions from rough openings and note any irregularities. Where equipment must be assembled or positioned in sections, confirm how section joints, lifting points and anchoring affect the available envelope. These inputs help align the enclosure with the building rather than treating it as an isolated cabinet, reducing field conflicts and avoiding access compromises after installation.
Coordinate the frame and section interfaces
The frame establishes the enclosure’s geometry and provides the structure to which doors, covers and internal barriers relate. For a multi-section lineup, review section widths, depths, joining faces, base arrangements and the locations where wiring or bus connections cross boundaries. A consistent reference datum helps keep mounting surfaces and openings aligned during assembly and installation. Account for floor variation, anchoring points and any requirement to maintain a continuous front or side plane across joined sections. Equipment arrangement also affects frame design: components need adequate mounting space, while wiring, buswork and barriers need room without obstructing adjacent devices. Clarify whether cable access is from the top, bottom, front or rear, and identify any site-specific restrictions. Final fit depends on the complete assembly and its tolerances, not just nominal dimensions. Reviewing interfaces early lets the project team resolve dimensional conflicts before they become field modifications.
| System | Voltage, phase, current and available fault current |
|---|---|
| Configuration | Lineup, protection, controls and enclosure as specified |
| Compliance | Applicable standards and listing confirmed for the assembly |
| Delivery | California and nationwide; schedule confirmed by quote |
Design doors around real service tasks
Door placement and opening direction should follow the work technicians will perform, not just the appearance of the lineup. Identify which devices require routine inspection, operation, adjustment or replacement, and consider how much clear space each task needs when a door is open. Check for clashes with walls, neighboring cabinets, aisle barriers and other open doors. Handles, hinges, latches and viewing areas should be coordinated with the equipment behind them, with suitable separation from live parts and moving mechanisms. If a door provides access to controls or instruments, confirm that the layout supports the intended operating position and visibility. Maintenance planning should also consider whether a component can be removed through the available opening, including the tool and hand clearance required. Qualified professionals must determine safe work practices and required clearances for the project. A practical door review helps preserve access without assuming that every task can be performed from the front.

Use partitions and covers to organize access
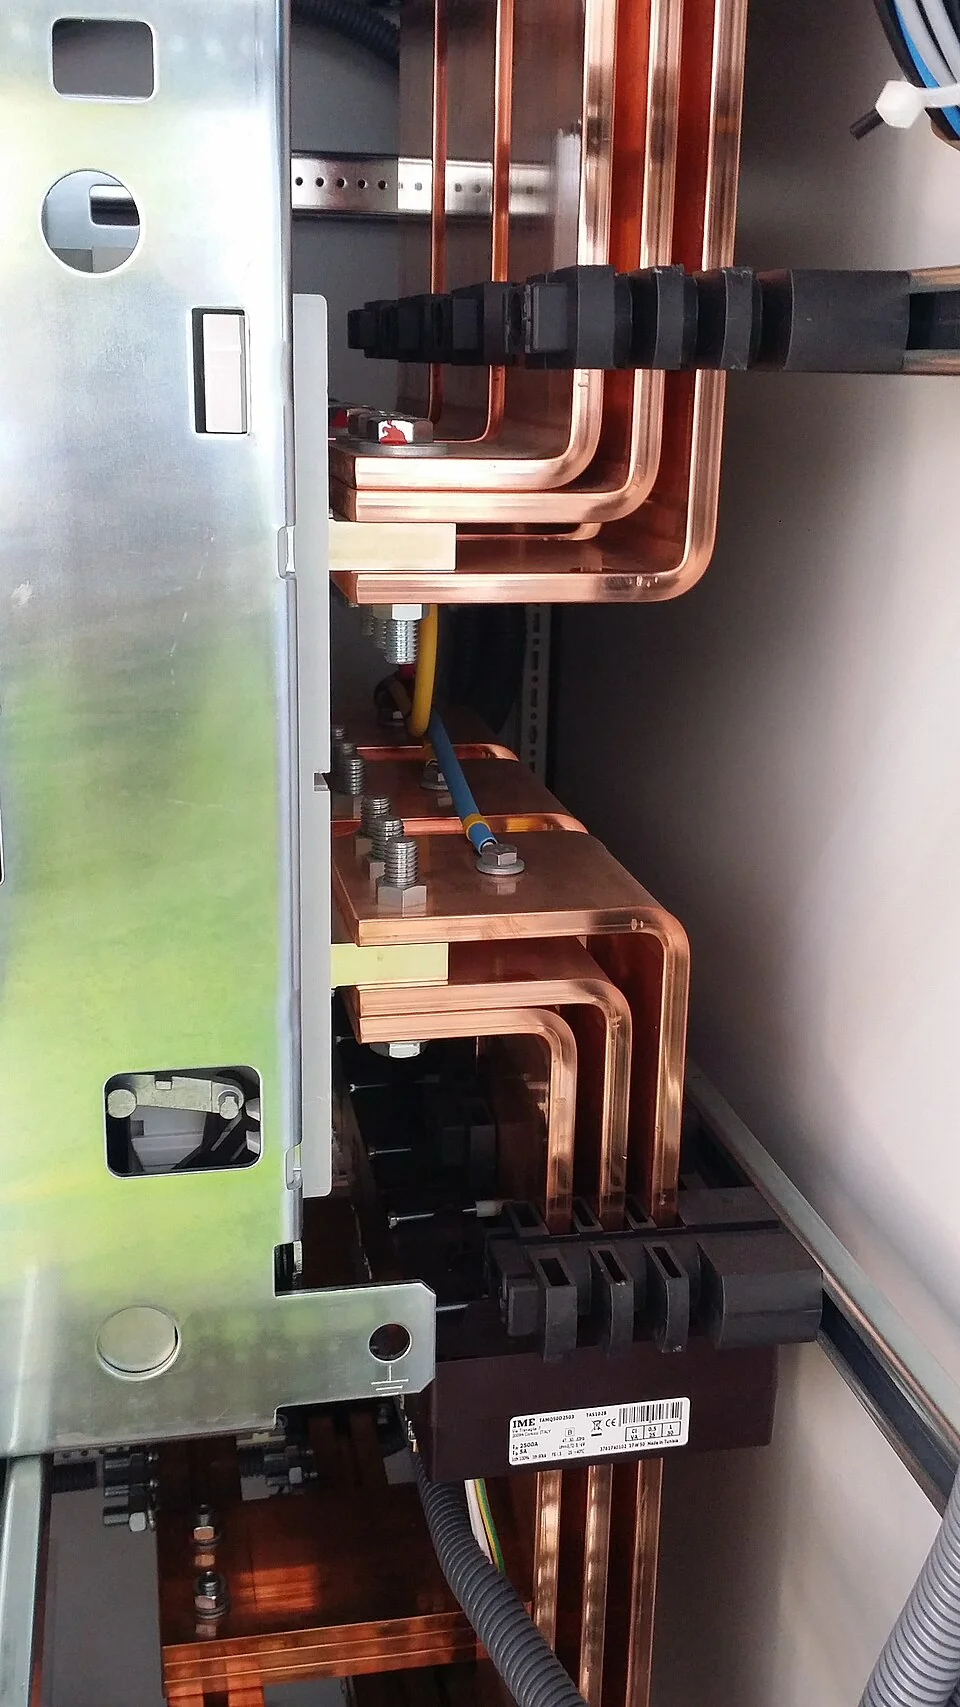
Partitions and covers define boundaries between compartments, shield components from unintended contact and guide how the enclosure is opened for inspection or service. Their locations should be coordinated with the electrical arrangement, wiring routes, cable bending space and required access to terminals or devices. A barrier that improves separation can also restrict visibility or make a connection difficult to reach, so review both protection and serviceability together. Removable covers need a clear removal path and a plan for fasteners, tools and safe handling; hinged covers need sufficient swing space. Document which panels are intended for routine access and which should only be removed under specified safe conditions. The design team should confirm the applicable safety requirements and protective approach for the particular equipment and installation. Clear compartment boundaries and understandable access points help installers and maintenance personnel recognize what is behind each panel and avoid unnecessary disturbance of adjacent equipment.
Review drawings before release and installation
A focused enclosure review brings together the electrical arrangement, mechanical drawings and site constraints. Supply current one-line and equipment layouts, room plans, entry and exit routes, cable and conduit locations, interface dimensions, and any required door or cover access. Mark assumptions separately from verified measurements, and identify dimensions that remain subject to field confirmation. Ask the project team to check front, rear and side access, door swings, section joints, mounting points, cable space and the sequence for moving and setting the assembly. Resolve conflicts in a coordinated drawing review before fabrication decisions are fixed; late changes can affect openings, partitions and internal component placement as well as the outer frame. For equipment shipped to California or elsewhere nationwide, installation conditions still need project-specific confirmation. The manufacturer can review the submitted requirements and clarify design questions, while the installing contractor and qualified professionals verify site conditions, applicable codes, ratings and safe work arrangements.