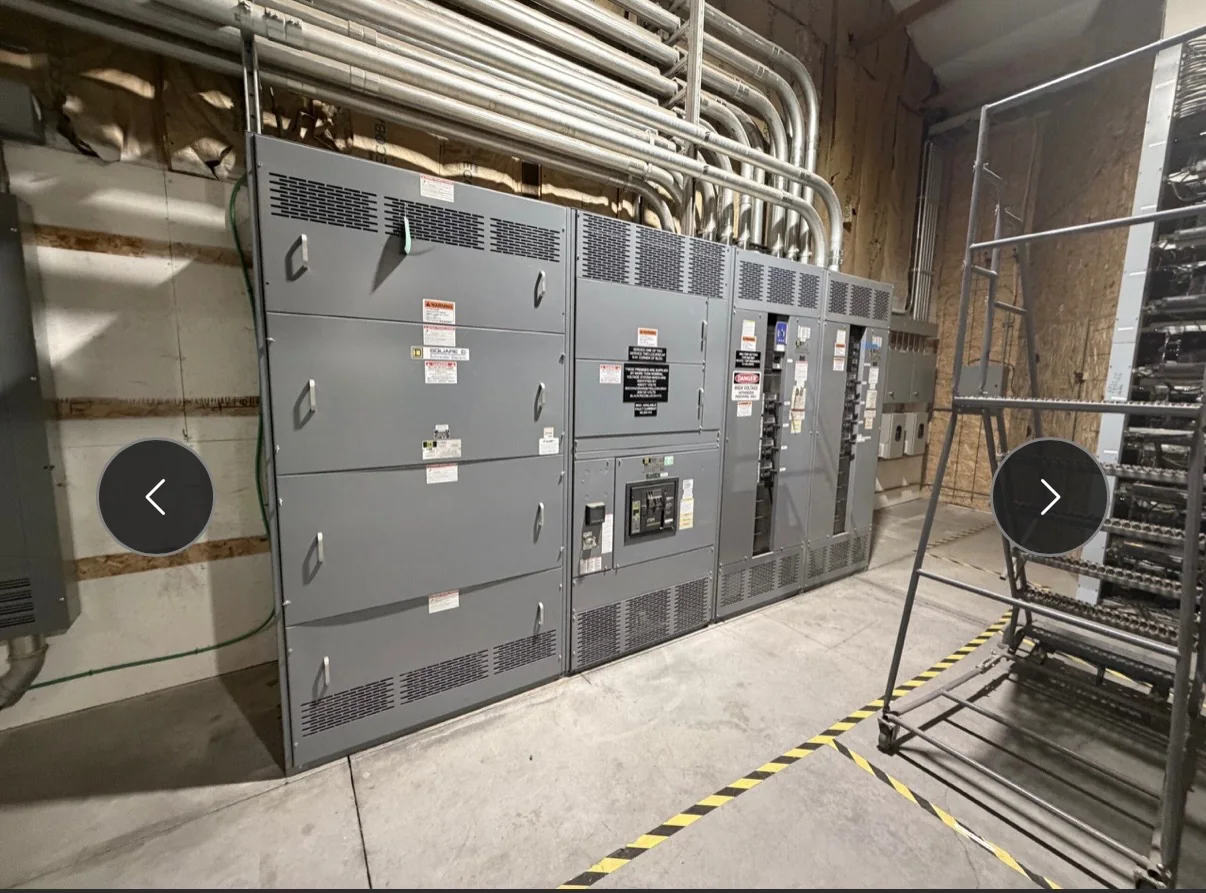
Start with the connection, not just the hole
Busbar cutting and punching should follow the electrical and mechanical design of the connection. A hole pattern must suit the mating terminal, splice plate or lug, while leaving enough material around each opening for the intended joint. Begin with controlled drawings that identify conductor dimensions, hole diameters, center-to-center spacing, edge distances, slot orientation and any bends or offsets that affect access. Show the mating part or provide its interface drawing; a nominal hole size alone does not establish a reliable fit. Also clarify which dimensions are critical and which can accommodate ordinary fabrication variation. This distinction helps prevent unnecessary tight tolerances from complicating production while protecting the dimensions that govern alignment and assembly. Before release, coordinate the pattern with the switchgear layout and connection sequence. A pattern that fits a component in isolation may be difficult to reach, fasten or inspect once adjacent conductors and barriers are installed.
Specify tolerances around real assembly needs
Tolerance planning is most useful when it accounts for the complete stack-up between connected parts. Consider variation in the busbar, mating conductor, support location and mounting hardware, then determine how those variations affect alignment at the joint. Identify datum surfaces and reference points consistently so fabrication and inspection measure from the same basis. Where multiple bars must align, state whether dimensions are referenced individually or as a coordinated pattern. Slots may provide adjustment in some designs, but they should not be added as a substitute for resolving an uncertain interface; slot direction, length and remaining edge distance all affect the connection. Discuss acceptable flatness, bend position and angular variation when those features influence fit. Qualified professionals must determine the connection design, electrical requirements and applicable safety criteria for the project. Clear tolerances make review more efficient, support repeatable assembly and help teams resolve discrepancies before material is cut rather than during installation.
| System | Voltage, phase, current and available fault current |
|---|---|
| Configuration | Lineup, protection, controls and enclosure as specified |
| Compliance | Applicable standards and listing confirmed for the assembly |
| Delivery | California and nationwide; schedule confirmed by quote |
Control edges and openings after fabrication
The condition of a cut or punched edge matters alongside the dimensions. Burrs, sharp corners and deformation can create handling hazards, interfere with close-fitting parts or affect insulation and clearances. Define the required edge treatment for the design, including whether openings and outside profiles need deburring, corner breaks or another specified finish. Avoid relying on an undefined instruction such as “smooth edges” when a drawing or project standard can state an inspectable requirement. The appropriate treatment depends on conductor material, thickness, geometry and the surrounding assembly, so confirm it during design review rather than assuming one method suits every part. Punching can also affect the area around an opening; inspect for distortion where joint contact or alignment is important. If plating, coating or insulation is specified elsewhere in the design, coordinate how fabrication and edge finishing relate to that process. Review the completed geometry and finish before assembly, especially at interfaces that will be difficult to access later.
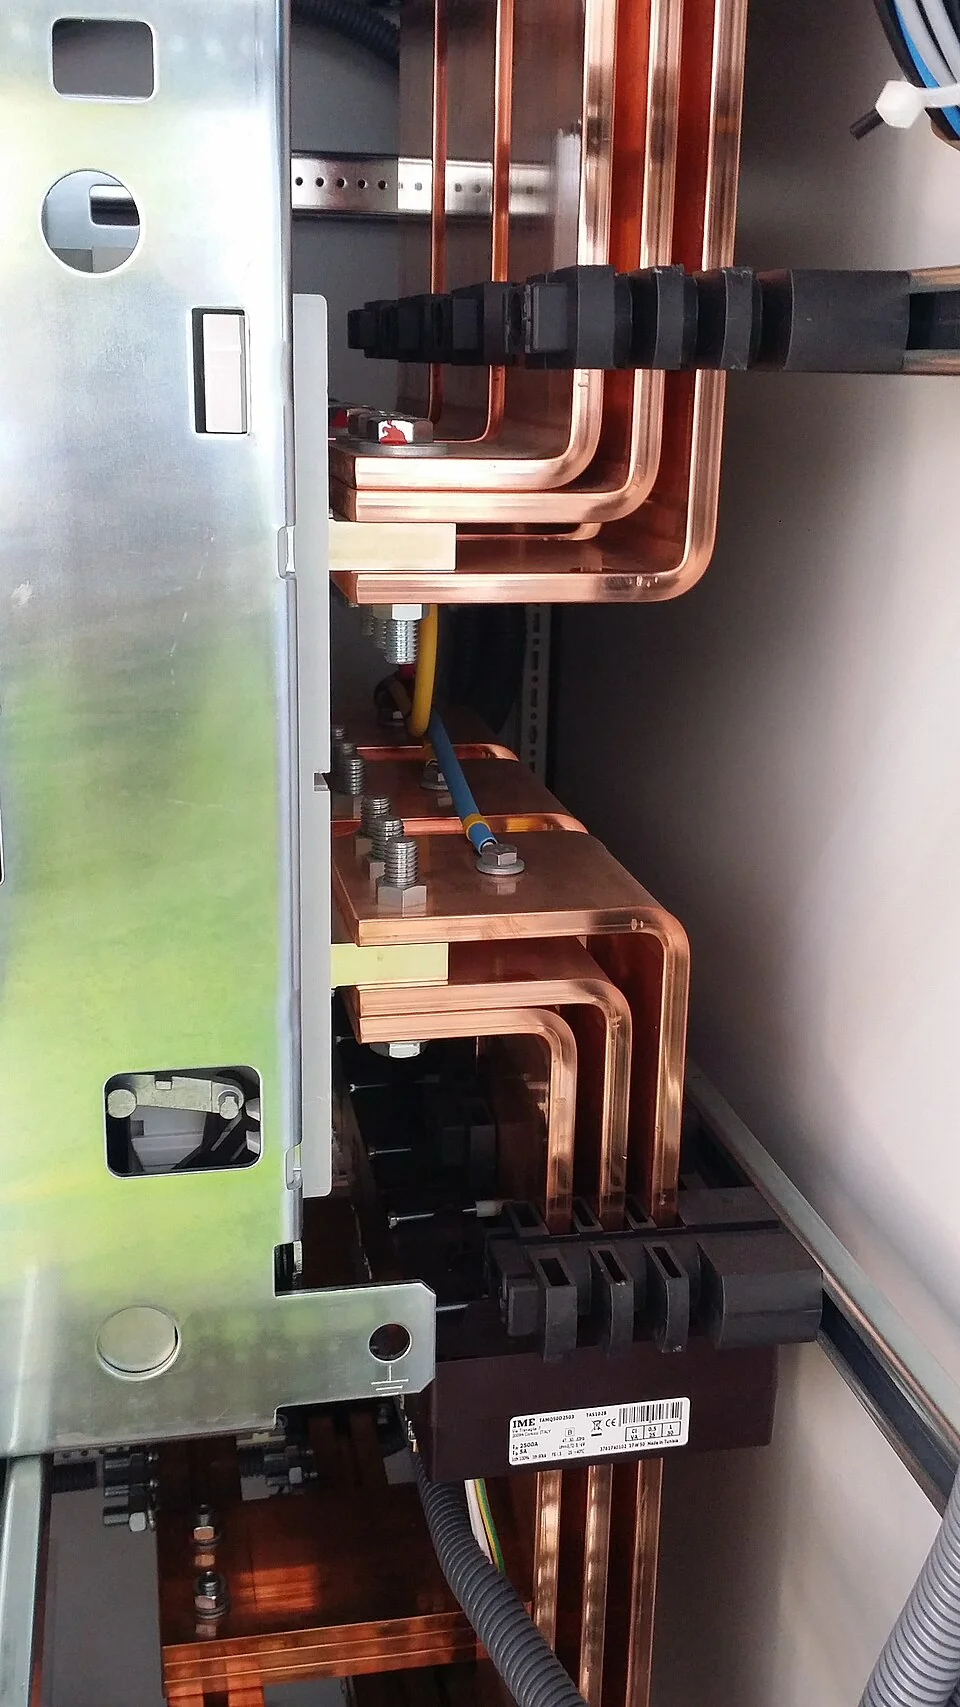

Identify conductors consistently through assembly
Conductor identification reduces the chance of confusion as parts move from fabrication into switchgear assembly, inspection and installation. Establish a naming scheme that matches the electrical drawings, such as phase, polarity, circuit or section identifiers, and apply it consistently across drawings, parts and assembly documentation. Specify where identification should appear and how it must remain readable without obscuring a contact surface, interfering with insulation, or being lost when a bar is installed. Color conventions may support identification, but they should not replace clear labels and drawing references. Confirm project-specific phase and polarity conventions with the responsible electrical design team, particularly where equipment interfaces with existing systems. If parts have similar geometry, a unique part mark or orientation reference can help prevent reversal or placement errors. Plan identification before fabrication so it can be applied at a suitable stage and verified during inspection. Traceable, unambiguous marks make questions easier to resolve when multiple conductors share similar dimensions.
Release a coordinated fabrication package
A useful fabrication package brings geometry, tolerances, finish and identification together rather than scattering requirements across informal notes. Provide current, revision-controlled drawings with units, material and thickness information, hole and slot details, datum references, edge-treatment requirements, conductor marks and any relevant mating interfaces. Flag dimensions that require inspection and explain the inspection basis when it is not evident from the drawing. Identify the drawing revision that governs production and route proposed changes through a documented review. For schedule-sensitive work, discuss sequence and review needs early; any expedited approach remains subject to project scope, design readiness and capacity review. Before release, check that busbar patterns agree with equipment layouts and that changes to terminals, supports or clearances have been incorporated. Customers can prepare more effective inquiries by sharing the application, interface drawings, required quantities and governing project documents. A focused technical review can expose missing information before cutting and punching, supporting better fit and fewer downstream corrections.