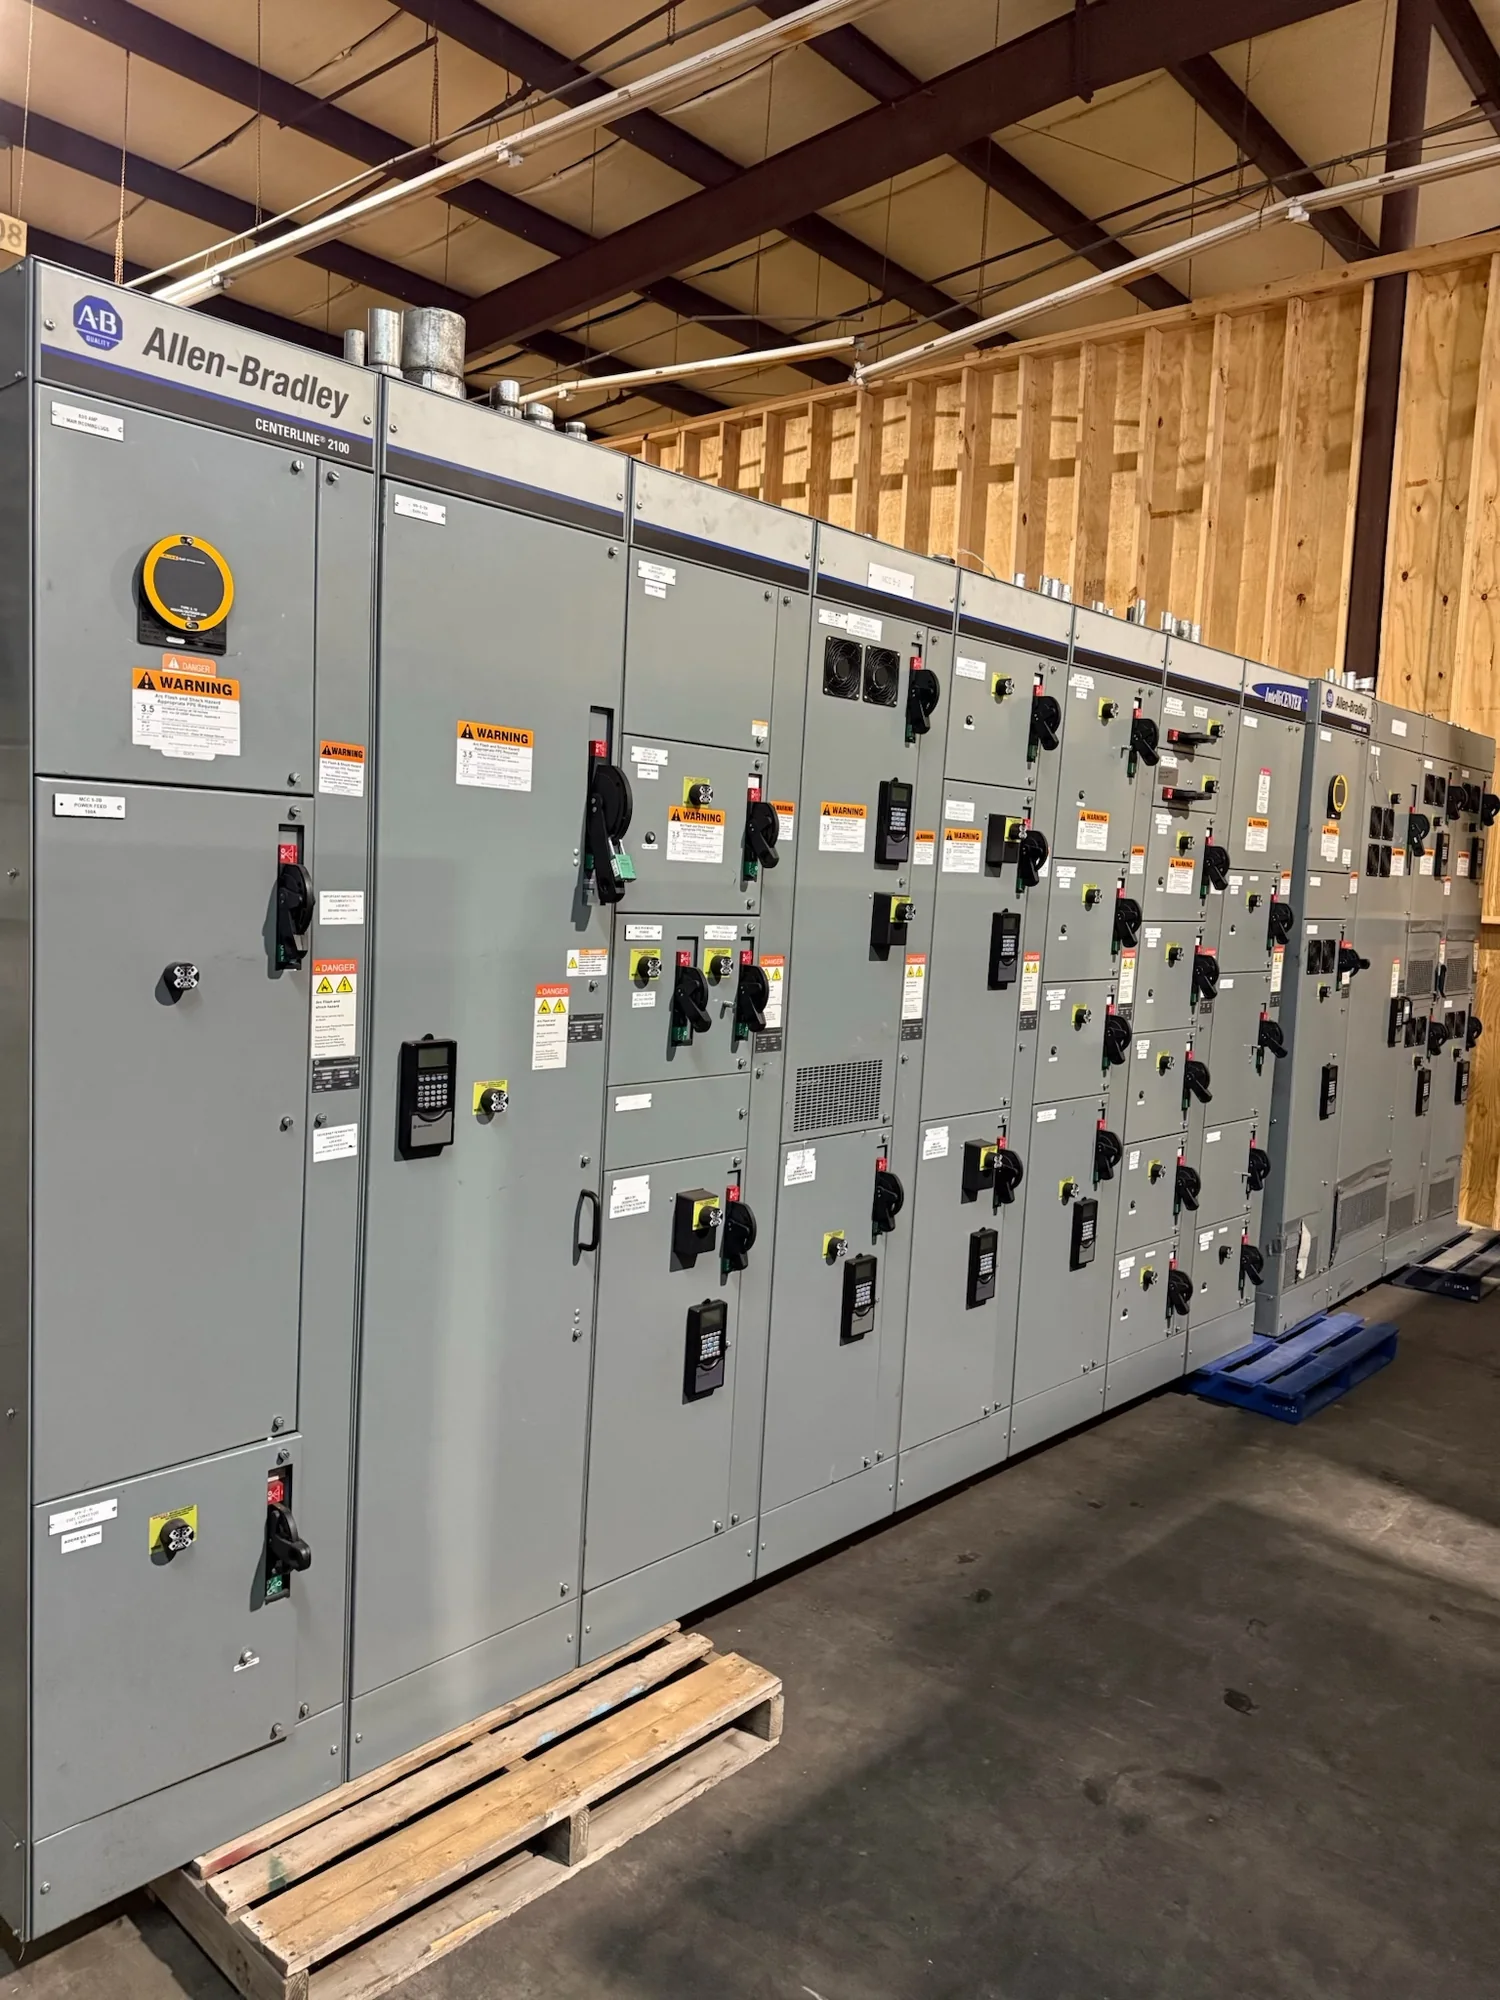
Translate the Layout into Bend Geometry
Busbar forming begins with the connection path, not simply the angle of a bend. Drawings should show conductor dimensions, material, phase arrangement, elevation changes, terminal locations and the direction from which each connection is approached. These details determine whether a straight offset, edgewise bend, twist or compound form can reach the intended point without interfering with adjacent components. A bend that looks workable in a plan view may collide with a barrier or cabinet wall when its full three-dimensional envelope is considered. Designers and builders should therefore review plan, elevation and section views together, including the space occupied by hardware and insulation. Confirm which dimensions are fixed by connected equipment and which can be adjusted. Clear, coordinated geometry reduces late changes, supports repeatable fabrication and gives the installation team a more dependable reference for checking the assembled lineup.
Preserve Barriers and Insulation Space
Barriers influence both the route and the sequence of busbar bends. A conductor may need to pass through an opening, turn within a compartment or remain separated from another phase while approaching a termination. The design should identify barrier locations, openings, edges and any required insulating components rather than treating the enclosure as empty space. Bend radius, conductor width and thickness affect the space consumed around each turn; a tight profile can make installation difficult or place stress near an insulating surface. Conversely, a broad bend may encroach on a neighboring phase or prevent a cover from closing. Review the intended assembly access as well as the final position: a busbar that fits only when inserted in an impractical order can create avoidable build and service challenges. Qualified professionals must determine the required electrical clearances and insulation approach for the specific equipment and applicable codes.
| System | Voltage, phase, current and available fault current |
|---|---|
| Configuration | Lineup, protection, controls and enclosure as specified |
| Compliance | Applicable standards and listing confirmed for the assembly |
| Delivery | California and nationwide; schedule confirmed by quote |
Coordinate Terminations and Connection Surfaces
A formed busbar must arrive at its termination with the contact surface correctly oriented, positioned and accessible. Connection drawings should specify terminal locations, hole patterns, conductor overlap, fastener access and any limits on movement at connected equipment. A twist or offset can solve an alignment problem, but may shift the contact face or bring the conductor too close to a barrier. Confirm whether the mating terminal is fixed or allows adjustment, and account for installation tolerances without relying on force to draw misaligned parts together. Where equipment interfaces are defined by another manufacturer, obtain current dimensions and connection details before releasing the busbar geometry. Also consider the space needed to install and inspect fasteners after the conductor is in place. Coordinated termination details help avoid field drilling, improvised shimming or mechanical strain, while preserving the intended electrical connection. Final torque and assembly practices remain subject to project requirements and manufacturer guidance.
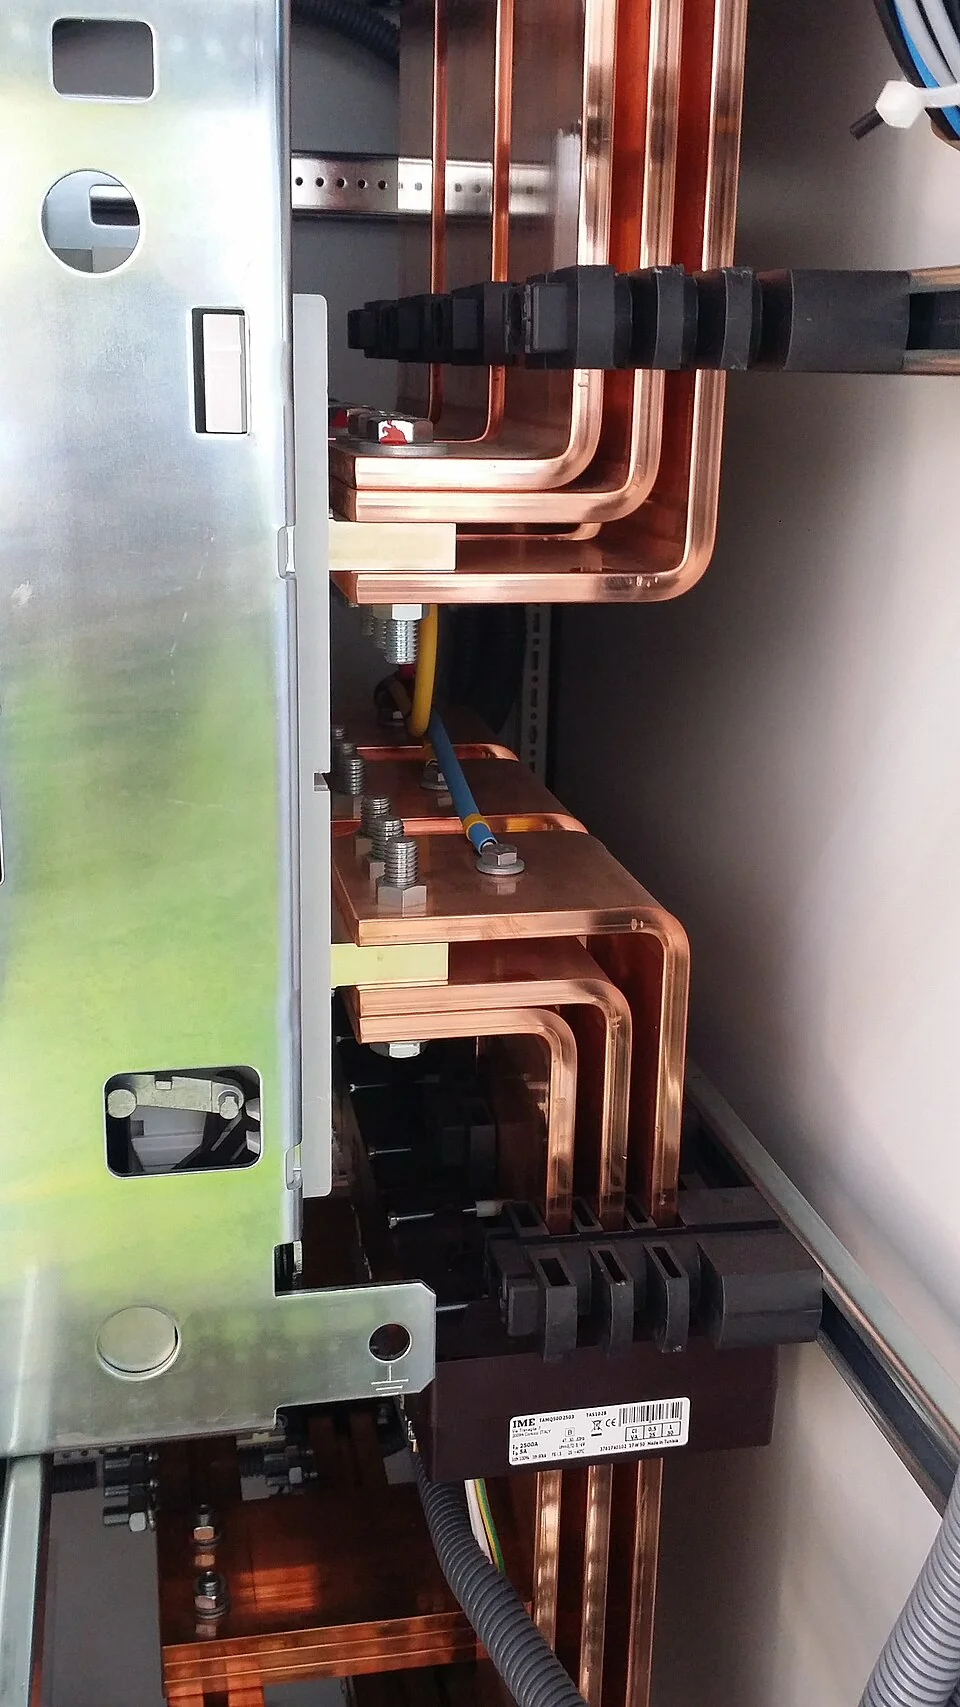

Check Clearances Across the Full Assembly
Clearance review should cover the complete formed path and the surrounding equipment, not only the nearest bend. Check spacing between phases, distance to grounded metal, barrier boundaries, supports, cable entries, doors and removable covers. Include the conductor’s full width and thickness, bend radius, hardware projections and any movement or tolerance that the project requires the design to accommodate. A busbar can meet its nominal drawing dimensions yet conflict with a support or enclosure feature once assembled. Coordination across compartments is especially important where conductors pass through partitions or approach devices with fixed terminal positions. Use the applicable project drawings and equipment information to resolve conflicts before fabrication; do not treat a generic clearance value as suitable for every voltage or arrangement. Qualified engineering professionals determine ratings, protection, clearances and applicable code requirements for each project. Any changes should be reviewed for effects on both electrical spacing and mechanical support.
Provide Information for a Manufacturable Design
For a useful forming review, provide current connection drawings, enclosure and barrier dimensions, equipment interface data, conductor specifications and the required phase sequence. Identify fixed points, permitted adjustment, access constraints and any project-defined clearances or standards. Mark dimensions that are controlling and flag details still awaiting confirmation; assumptions about terminal orientation or compartment depth can otherwise lead to a fit issue downstream. A coordinated three-dimensional model can help reveal interference, but it should be checked against released drawings and actual interface requirements. During design review, ask how each bend will be formed, supported, installed and inspected, and whether the chosen route leaves practical access to fasteners and barriers. Changes to geometry may affect conductor length, support locations and assembly sequence, so communicate revisions promptly. Switchgear Builder California builds new equipment in the USA with American components and can review project-specific busbar requirements. Schedule-sensitive options, if appropriate, depend on project review and confirmation.