Start with the nameplate and equipment identity
Begin by recording every legible nameplate detail on the failed assembly and its major sections. Useful information can include the manufacturer, catalog or serial number, equipment type, voltage, current, frequency, interrupting or withstand ratings, enclosure details, and manufacture date. Capture a clear, straight-on photograph of each plate, then transcribe the text separately so faded characters or glare do not become the only record. Photograph section labels, breaker identification, bus ratings, and control or relay nameplates when accessible. Do not assume the main nameplate describes every installed component or later modification. If a plate is missing, damaged, or inconsistent with drawings, note that explicitly rather than estimating. These records help identify the original design intent and frame questions for engineering review; they do not by themselves establish that an identical replacement is available or suitable. A qualified professional must determine ratings, protection, and code requirements for the project.
Photograph the assembly and surrounding conditions
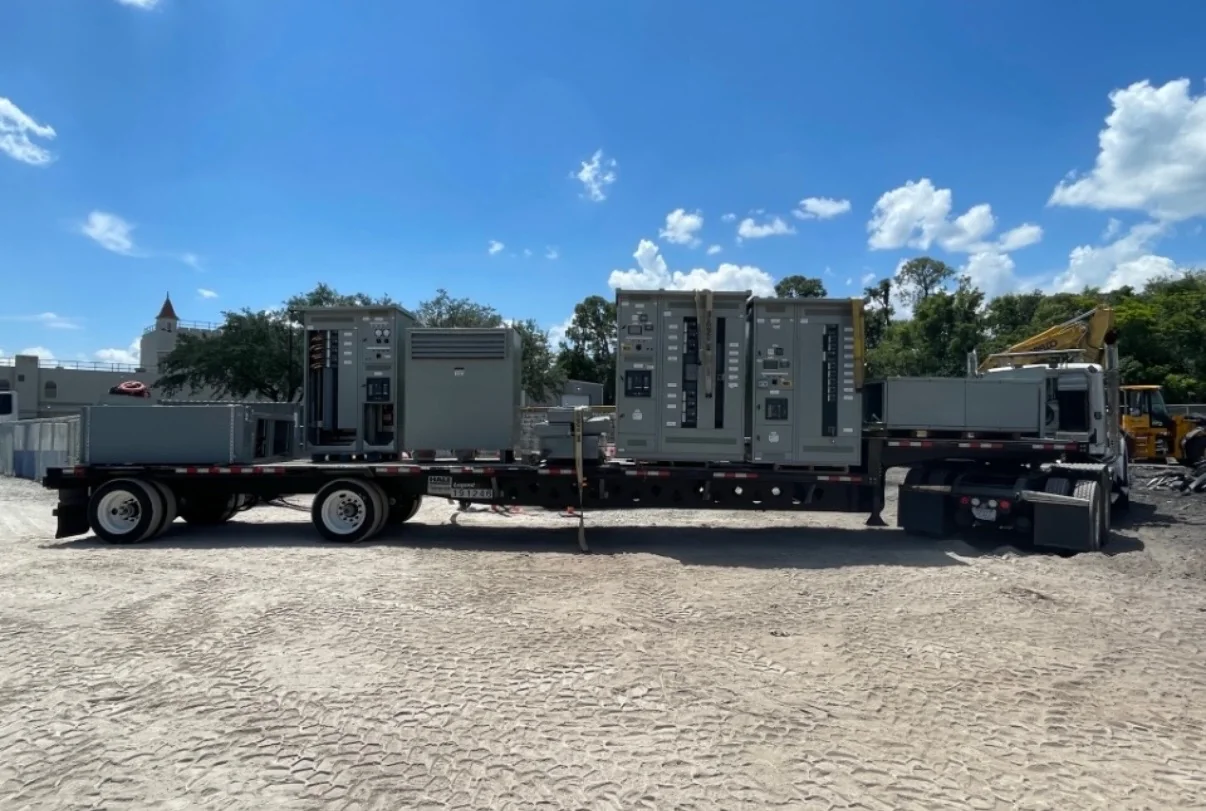
Take overview photographs from the front, rear, both ends, and above where safe access permits. Include close-ups of compartment labels, bus connections, cable entry areas, ventilation paths, barriers, grounding connections, and visible damage. A ruler or other scale in a detail image can help convey the size of a feature, but do not place anything inside energized equipment. Show the assembly in context: adjacent gear, walls, columns, overhead obstructions, floor transitions, and nearby conduit or cable trays may all affect removal and installation. Record whether doors can open fully and whether there is working clearance for planned access. If water, heat, contamination, corrosion, or mechanical impact contributed to the failure, document the affected areas without disturbing debris or evidence. Follow site safety procedures and have qualified personnel determine what may be photographed or approached. Useful images are well lit, labeled by location, and accompanied by a brief note explaining what each view depicts.
| System | Voltage, phase, current and available fault current |
|---|---|
| Configuration | Lineup, protection, controls and enclosure as specified |
| Compliance | Applicable standards and listing confirmed for the assembly |
| Delivery | California and nationwide; schedule confirmed by quote |
Gather drawings and electrical system records
Collect the latest available single-line diagram, equipment layout, elementary or wiring diagrams, and coordination or study documents relevant to the assembly. Mark which drawings are current, which are historical, and any known field changes; an old drawing can still be useful when its limitations are clear. Record the source and revision date, and include breaker or fuse data, protective-device settings, transformer information, grounding arrangement, and connected loads when available. A single-line helps establish how the failed equipment fits into the distribution system, while wiring documents can clarify control power, interlocks, metering, and interfaces. Do not treat a drawing as proof of the as-built condition: compare it with labels and field observations, then flag discrepancies for review. If fault records, relay event reports, maintenance notes, or incident details exist, preserve them for the engineering assessment. These inputs support evaluation of system coordination and replacement scope; protection decisions remain with qualified professionals.
Measure the space and document connections
Accurate field dimensions help distinguish a feasible replacement concept from one that needs further site investigation. Record overall width, height, depth, section widths, and the position of mounting or anchoring points. Note the direction and location of incoming and outgoing cables or bus duct, approximate conductor sizes where safely observable, entry and exit elevations, and available bending or termination space. Measure doorways, corridors, turns, elevator openings, and any overhead restriction along the route from receiving point to final position. Identify floor loading concerns, housekeeping pads, access panels, and obstacles that could affect rigging or installation. Use a consistent reference point and label dimensions on a sketch; include units and distinguish verified measurements from estimates. Never open or probe equipment to obtain measurements unless the work is authorized and performed under the site's safety procedures by qualified personnel. Installation conditions may drive changes in section arrangement, connection approach, or enclosure details, so record constraints rather than assuming the old footprint can be duplicated.
Organize the package and confirm open questions
Assemble the information into a simple, clearly named package: equipment identity, photographs, drawings, field measurements, and a short account of the failure and operating context. Use file names that identify the gear section, viewing direction, and date, and keep original files where possible. Add a contact who can answer questions about site access, shutdown constraints, and drawing revisions. Before sending, check that images are readable, dimensions carry units, and uncertain details are marked as unknown rather than filled in by assumption. The manufacturer can use this material to begin assessing the replacement scope and identify missing information, but final design inputs may require follow-up, site verification, or review of applicable standards for the specific equipment. For applicable low-voltage switchboards, UL 891 may be a relevant design consideration; it does not establish a third-party listing. For medium- or high-voltage equipment, identify and verify standards applicable to that equipment. Discuss schedule-sensitive options early, recognizing that timing depends on project review and confirmed requirements.