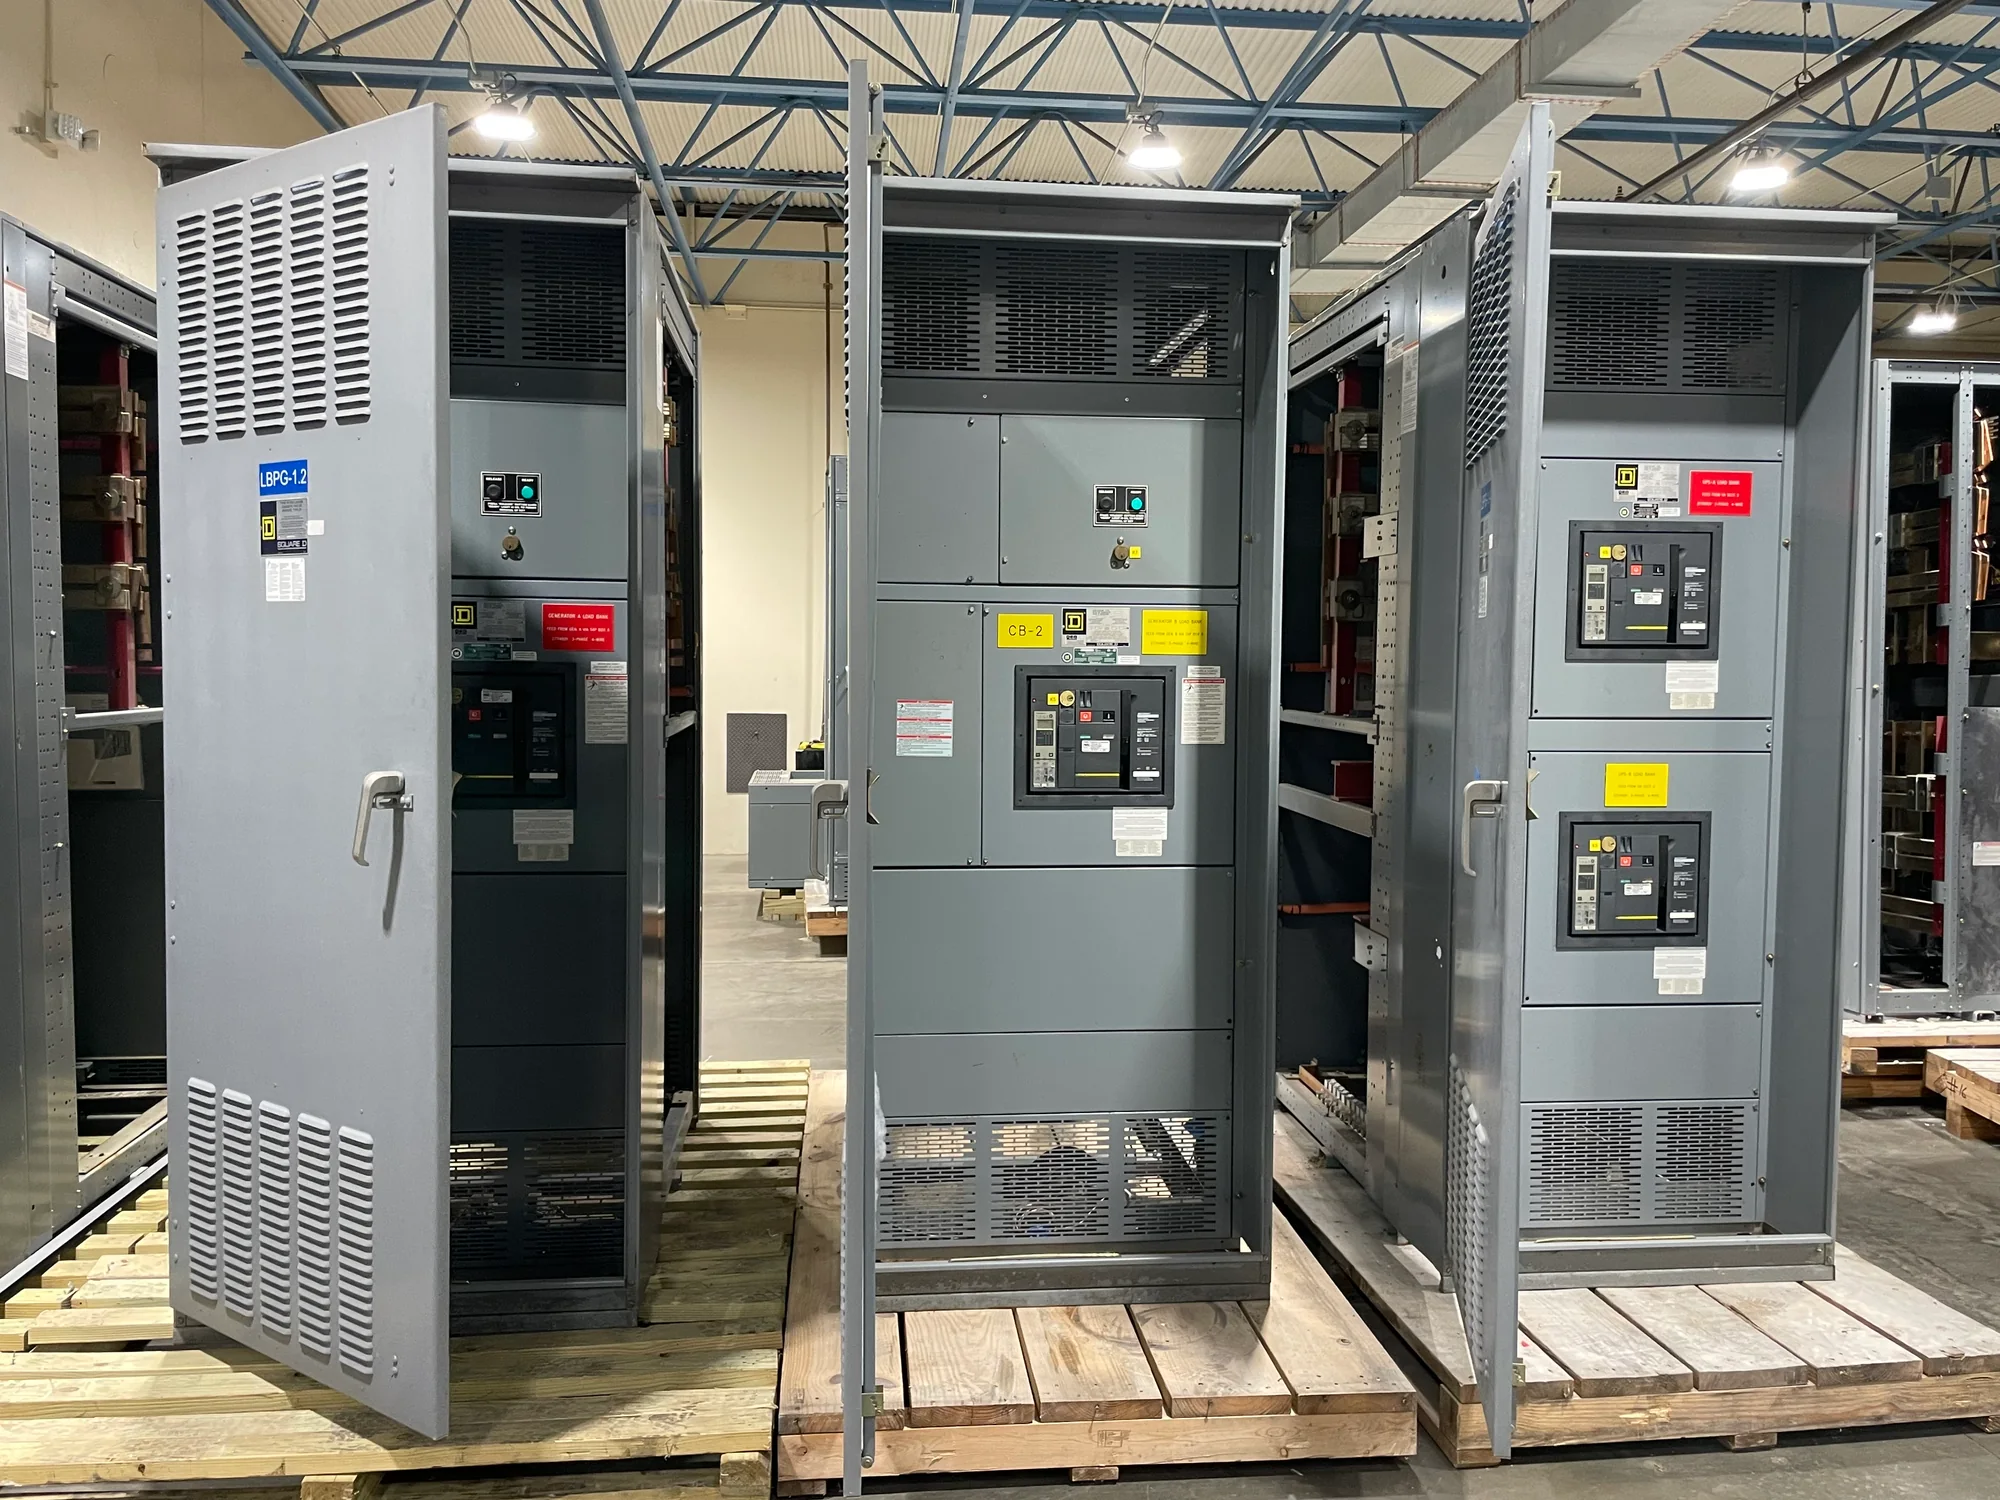
Start with the Lineup’s Overall Envelope
Measure the complete lineup as a continuous assembly, then record its depth and height separately. Note whether dimensions include doors, handles, lifting features, rear extensions, or other projections; those details can change the space required even when the main enclosure fits a drawing. Use a consistent reference plane, such as finished floor and the back wall, and identify whether measurements are field-verified or taken from existing documents. Record units and the measurement date so later reviewers do not have to guess. Capture nearby walls, columns, overhead obstructions, and adjacent equipment that constrain the footprint. If the lineup is installed on a housekeeping pad or raised floor, document the height and edges of that support as well. Photographs with a tape measure or marked reference points can help clarify unusual conditions. These observations describe the existing installation; they do not establish that a replacement design, working clearance, or code requirement is satisfied.
Document Every Section and Interface
Break the lineup into individual sections and record each section’s width in order, from a clearly identified end. Label the sections consistently with the site’s drawings or equipment designations, and show the direction used to define left and right. Add the total of the measured widths and compare it with the overall lineup dimension; a mismatch can reveal an omitted end section, trim, gap, or measurement error. Note visible transitions between sections, barriers, splice areas, and changes in enclosure depth or height. Record door swing and whether doors, covers, or removable panels require additional room to open or be handled. If existing drawings show internal compartments, treat them as a reference and confirm only what can be safely and appropriately verified in the field. Do not remove covers or enter energized compartments to obtain dimensions. Qualified professionals should determine safe work methods and any required outage or access controls before inspection.
| System | Voltage, phase, current and available fault current |
|---|---|
| Configuration | Lineup, protection, controls and enclosure as specified |
| Compliance | Applicable standards and listing confirmed for the assembly |
| Delivery | California and nationwide; schedule confirmed by quote |
Trace the Full Access and Installation Route
A lineup may fit its final location yet be impossible to move there without disassembly or building work. Walk the route from the receiving point to the equipment room and measure the narrowest doorways, corridors, turns, ramps, stairs, elevators, and overhead clearances. Record door opening width and height with the door in the position used for passage, not simply the frame’s nominal size. At turns, capture the available turning space and identify obstructions such as piping, cable tray, bollards, or projecting hardware. Note floor transitions, slopes, loading limits when known, and whether a route crosses occupied or restricted areas. Photograph constraints from multiple angles and mark the route on a floor plan. The equipment’s shipping dimensions and weight may differ from its installed envelope, especially if sections are transported separately. Confirm handling assumptions, section breakdown, rigging access, and building restrictions with the project team before relying on a field sketch for logistics or installation planning.
Locate Cable Entry Points and Routing Constraints
Record where cables enter and leave the lineup, including top or bottom entry, the affected section, and the approximate position of each opening. Measure entry locations from fixed references such as the enclosure edge, floor, or section boundary, and distinguish actual openings from planned penetrations. Note conduit, cable tray, bus duct, or trench approaches and their direction, elevation, and available space. For bottom entry, document the pad, floor opening, trench dimensions, and any visible obstructions; for top entry, capture overhead clearance and the route to the equipment. Identify whether existing conductors appear to require bending space or whether access may be constrained by nearby structure. Do not assume that a measured opening can accept a proposed cable quantity, conduit arrangement, or bend radius. The electrical designer must evaluate conductor sizing, termination space, routing, grounding, and applicable requirements for the specific installation. Never probe or alter energized equipment as part of a dimension survey.
Turn Field Measurements into a Useful Project Record
Organize the survey so a designer or manufacturer can understand both the dimensions and their context. Provide a dimensioned plan and elevation where possible, a numbered section sequence, the overall envelope, access-route measurements, cable-entry locations, and photographs keyed to the drawing. Mark dimensions that are approximate, obstructed, or not field-verified, and identify the person who measured them and the date. Include site information that may affect design review, such as available room, service conditions, project scope, and constraints on shutdown or installation, while avoiding assumptions about ratings or compatibility. Ask the project team to review discrepancies between drawings and field conditions before equipment design proceeds. Measurements support planning; they do not replace engineering review of electrical ratings, protection, clearances, code requirements, or equipment interfaces. For a new switchgear inquiry, share the survey and relevant one-lines or specifications so the manufacturer can identify questions, confirm design inputs, and discuss practical next steps.