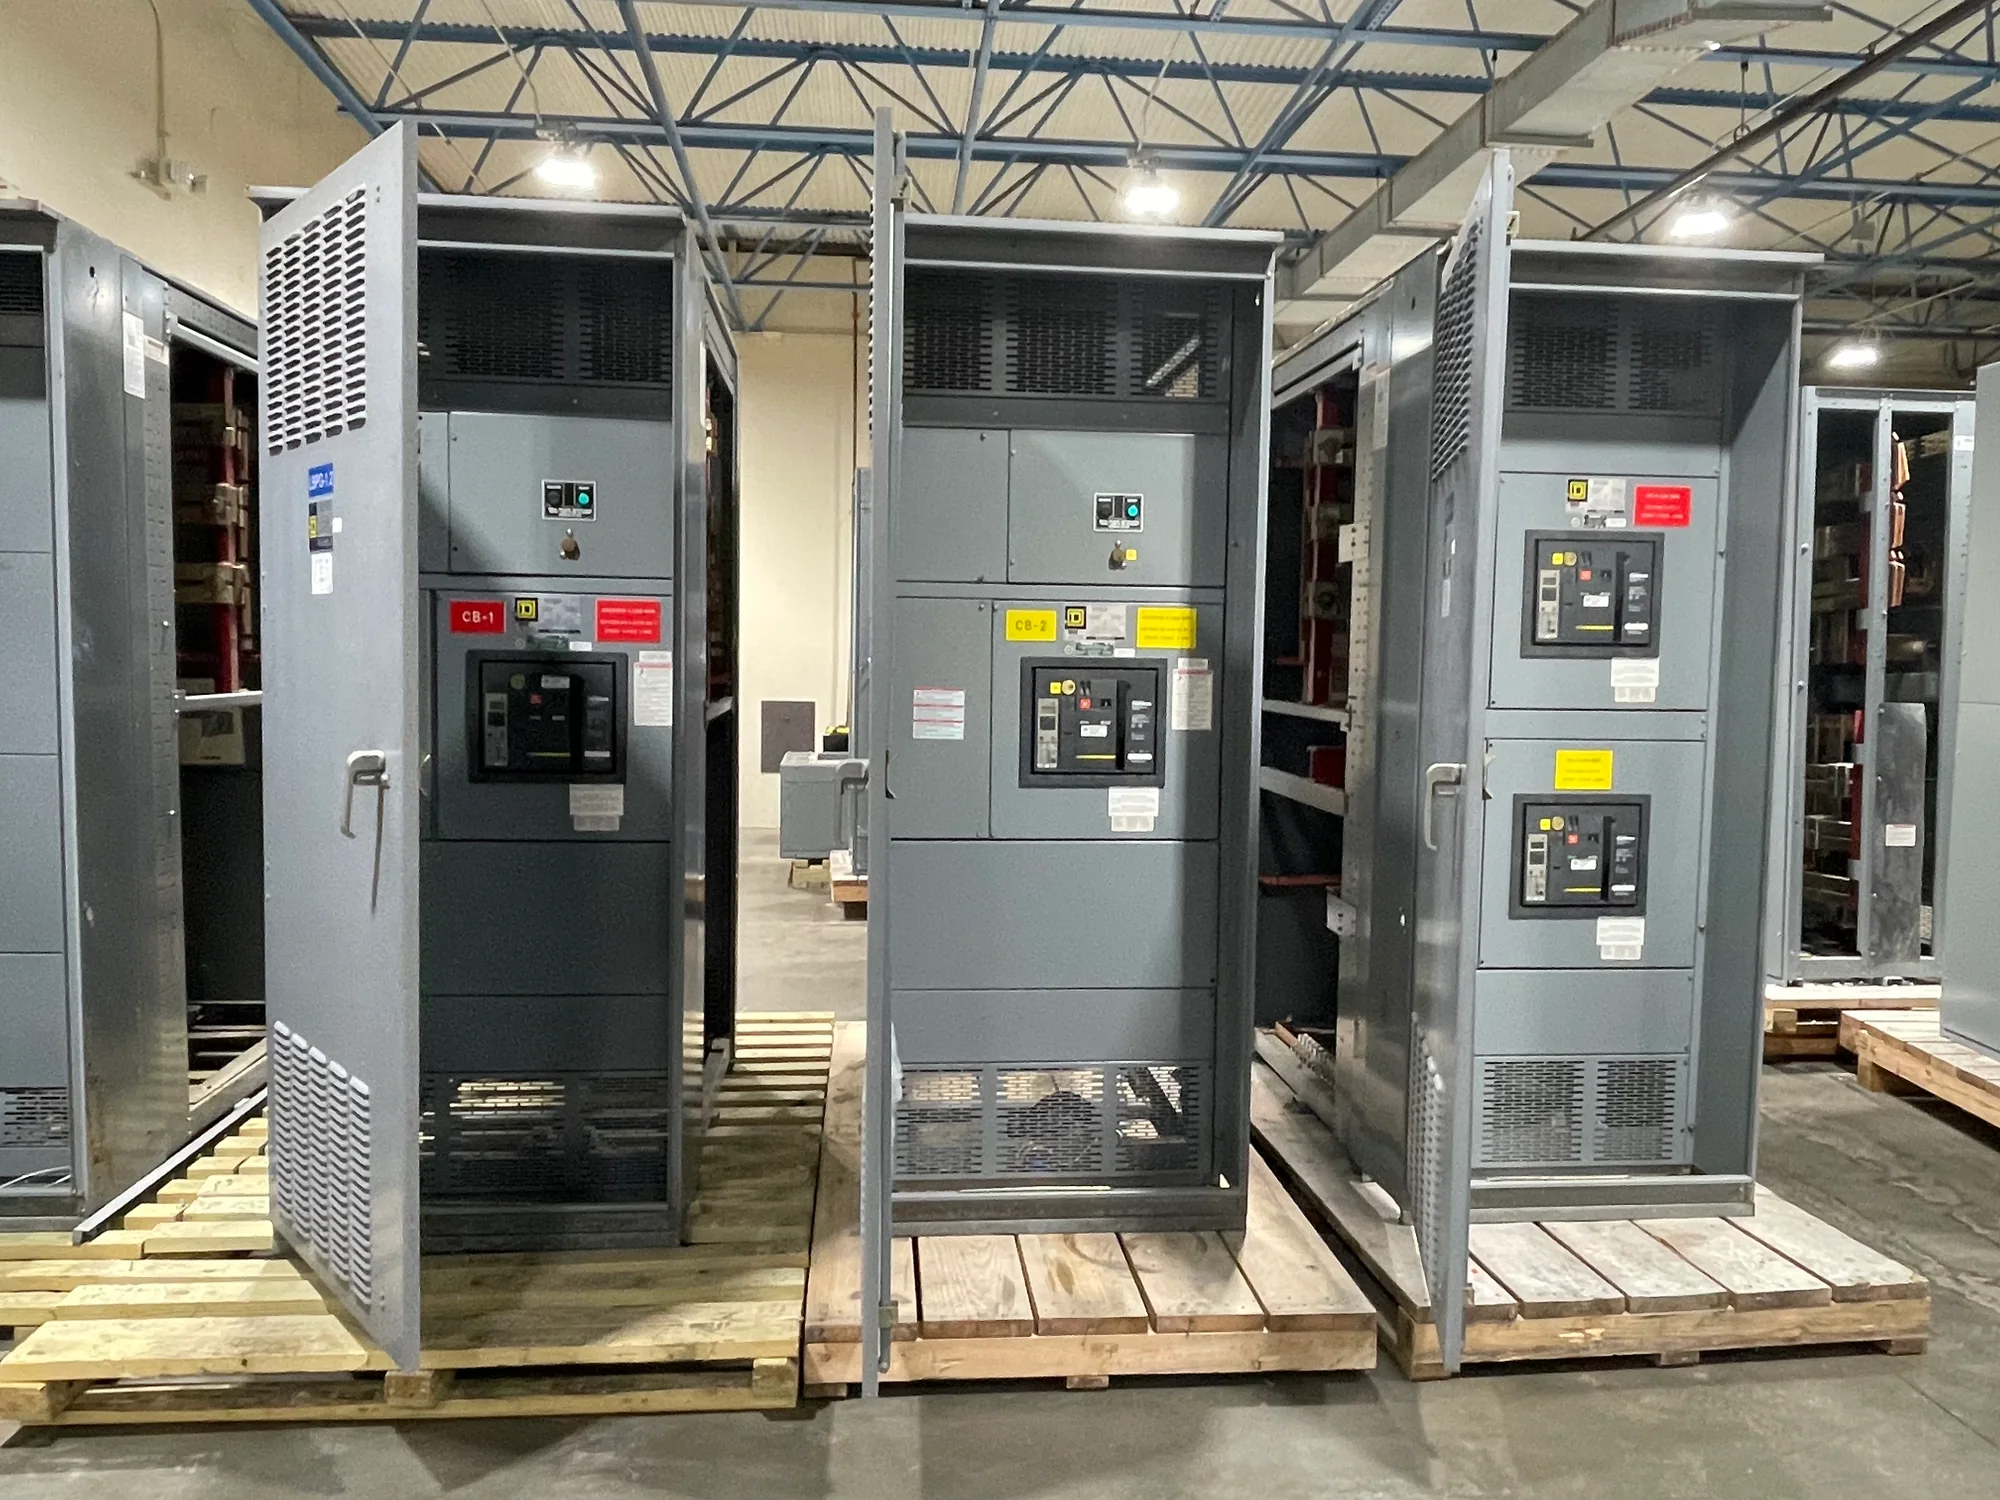
Choose an Entry Direction That Fits the Site
Top or bottom cable entry affects more than the position of an opening. It determines how feeders approach the equipment, where conduit or cable tray must land, and whether the installation can be completed without obstructing adjacent gear or building systems. Compare the proposed entry direction with the room layout, structural conditions, overhead services, floor construction and the actual route from the source or load. Bottom entry may require coordination with housekeeping pads, trenches, floor openings and below-floor congestion. Top entry can depend on overhead clearance, tray elevation and access for pulling conductors. Neither direction should be treated as a default before the site conditions are known. Provide the intended approach for each cable group and identify constraints such as beams, walls, door swings or restricted working space. The manufacturer and project team can then review whether the proposed arrangement is practical for the equipment design and installation.
Verify Bending Space for the Actual Conductors
Cable bending space must be evaluated using the conductor sizes, insulation, quantity and routing expected for the project, not a generic assumption about a cabinet opening. Large or stiff conductors may need substantial room to turn from a vertical or horizontal approach into the termination position. The available space also depends on barriers, bus locations, adjacent compartments and the direction from which the cable is pulled. Identify conductor data and cable entry points early, and share routing sketches or tray elevations where available. Confirm applicable electrical code requirements and equipment-specific clearances with qualified electrical professionals. If the proposed route creates a tight bend, difficult pull or interference with internal components, address it before release rather than relying on field adjustment. A coordinated layout can help reduce installation rework, protect cable insulation and make terminations more orderly, while preserving the access needed to inspect and maintain the equipment.
| System | Voltage, phase, current and available fault current |
|---|---|
| Configuration | Lineup, protection, controls and enclosure as specified |
| Compliance | Applicable standards and listing confirmed for the assembly |
| Delivery | California and nationwide; schedule confirmed by quote |
Keep Lugs Reachable for Installation and Service
Termination locations need to accommodate the installer’s hands and tools as well as the conductor itself. Check whether each lug can be approached for conductor preparation, insertion, tightening and later inspection, including the space needed for calibrated tools where required. Consider the number of parallel conductors, phase arrangement, neutral and grounding connections, and any control or auxiliary wiring that shares the enclosure. Confirm lug orientation and conductor entry direction against the intended cable route; a technically possible termination can still be awkward if cables cross or block access to another connection. The project team should supply the electrical schedule, conductor details and any specified lug or termination requirements for review. Qualified professionals remain responsible for selecting appropriate conductors, overcurrent protection and installation practices. Layout review should also consider safe working clearances and the procedures required for work on energized or de-energized equipment.
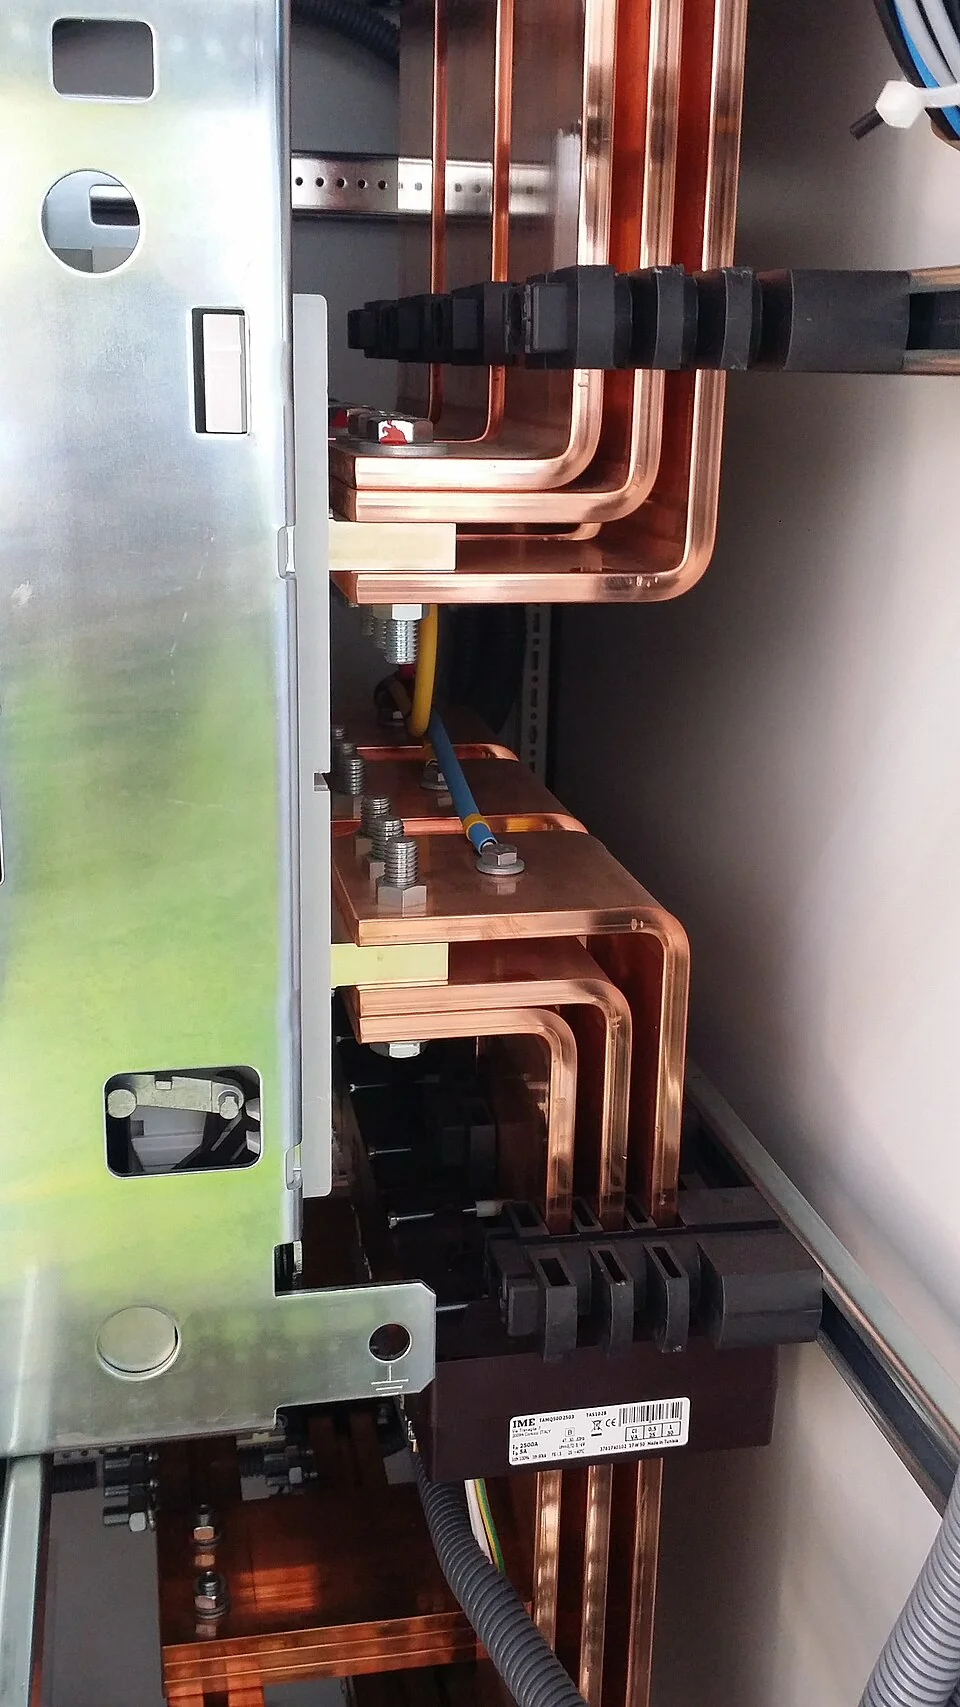

Coordinate Conduit Locations Before Construction
Conduit locations are a building-interface decision that should be coordinated with the switchgear drawings, not left until conduit is installed. Provide the planned conduit sizes, entry points, quantity, spacing and destination for power and control circuits, together with a dimensioned floor or overhead plan. Check whether conduits can arrive within the intended cable compartment without colliding with structural steel, adjacent equipment, anchors or internal components. For bottom entry, verify that stub-ups and floor openings align with the enclosure and leave workable space for conductors to turn. For top entry, coordinate tray supports, conduit drops and overhead access. The design team should resolve tolerances and installation sequence, since field conditions may differ from preliminary drawings. Any requested opening or routing change should be reviewed before fabrication; uncoordinated field modifications can affect enclosure integrity, clearances and equipment arrangement.
Submit Layout Inputs and Confirm the Interface
A useful layout review begins with current, project-specific information: one-line diagram, equipment lineup and dimensions, feeder and load schedules, conductor data, conduit or tray plan, room elevations, and known site obstructions. Mark top or bottom entry by circuit group and show the intended direction of approach. Identify which details are fixed and which remain open for coordination. The manufacturer can review the proposed interface against the equipment design, while the electrical engineer, contractor and relevant trades confirm code obligations, protection, working space and field routing. Applicable standards depend on the equipment type and project; for medium- or high-voltage equipment, identify and verify the standards that apply to that specific equipment. Request drawing review before construction and reconcile approved layouts with installation documents. If schedule-sensitive options are needed, raise them for project review; timing and feasibility depend on the requirements and cannot be assumed.